
I’ll walk you through painting stained wood successfully.
First, clean the surface with a degreaser and dull it with 120–150 grit sandpaper so paint grips properly.
Next, apply a stain-blocking primer—this prevents bleed-through and creates adhesion.
Finally, paint with two coats of your chosen color, sanding lightly between layers for smoothness.
Wait for complete drying between each step.
These fundamentals work well on stained wood, and there’s more technique to learn for optimal results.
Step 1: Clean and Dull the Stained Surface

Before you prime or paint, you need to start with a clean slate—literally. I’ll walk you through this first step.
Clean Your Stained Wood
Start by thoroughly cleaning the stained wood surface with a chemical cleaner like a degreaser or TSP (trisodium phosphate). This removes oils, dirt, and grease that will compromise your paint job. Work outdoors or in a well-ventilated area to avoid indoor mess and allow proper air circulation.
Clean stained wood with a degreaser or TSP to remove oils, dirt, and grease before priming or painting.
Dull the Gloss
Next, dull gloss using a deglosser or light sanding with 120–150 grit paper. This roughens the surface, promoting better primer adhesion.
Dry Completely
Finally, let everything dry completely before priming. Trapped moisture will undermine your entire project, so patience here is worthwhile.

120 Grits: Includes 8 sanding blocks (120 grit, medium), our sanding sponge is reusable, washable, and suitable for all your sanding needs
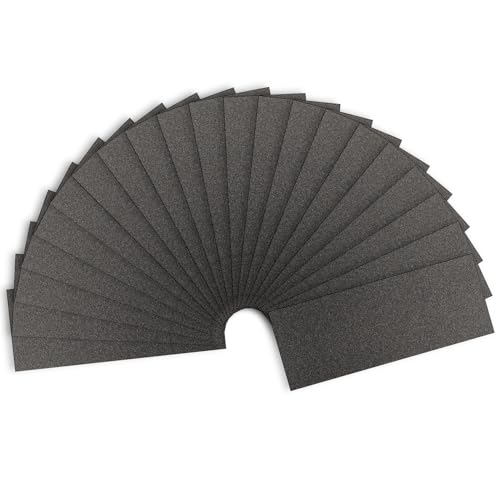
【PREMIUM MATERIAL】: Sandpapers Made Made from aluminium oxide for longer life; electro coated technology make grit distributed evenly; Will not fall apart, tear or crumble off during using。

Removes material quickly with 120 grit abrasive for fast paint stripping heavy surface prep and aggressive sanding jobs on wood metal and drywall
Step 2: Prime With a Stain-Blocking Primer

Step 2: Prime With a Stain-Blocking Primer
Why’s primer so important here? I’ll tell you—without it, your stain bleeds right through fresh paint, ruining everything. A stain-blocking bonding primer seals stain bleed and guarantees adhesion so your topcoat actually sticks.
Here’s what I do: I apply the bonding primer evenly across the stained wood, creating that rough texture that glossy finishes need. This primer prep surface is necessary because it converts slick varnish or polyurethane into something paint grips.
Follow these steps:
- Apply primer per manufacturer directions
- Allow proper primer drying time before touching
- Light sanding between coats maintains smoothness
- This prevents staining bleed issues later
Once dry, you’re ready for topcoat adhesion that lasts. This step separates amateur results from professional ones.

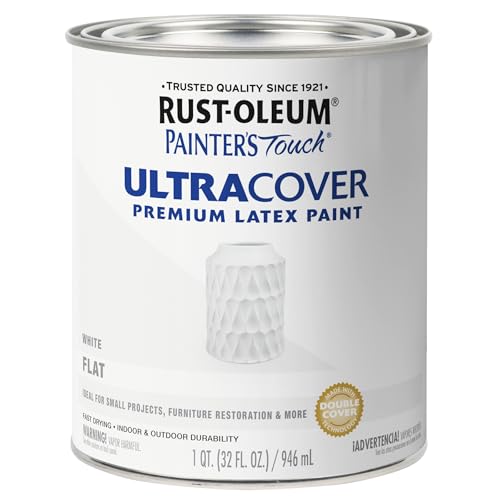
Designed for interior and exterior surfaces

Get ultimate hiding power indoors and out with Zinsser Cover Stain Primer

Interior/Exterior use on new or previously painted drywall, concrete, wood, masonry, metal and glossy or difficult surfaces
Step 3: Paint Over the Stain in Your Chosen Finish

Now that you’ve sealed everything with primer, it’s time to apply your actual paint—and this is where your stained wood gets its new look.
I recommend choosing between latex paint or oil-based paint based on your bonding primer. Apply thin coats rather than one thick layer; this prevents blotching control issues and gives you that professional topcoat finish you’re after.
Your painting strategy:
- Use two coats for most projects
- Add a third coat if you’re covering dark stains with lighter colors
- Sand between coats lightly for smoothness
- Wait for proper drying time before applying the next layer
Test your chosen finish on a hidden area first. This preview prevents surprises. Remember, patience with sanding between coats and allowing adequate drying time lets your stain-sealing primer work alongside your topcoat, delivering the results you want.

Use for a variety of indoor and outdoor project surfaces including wood, metal, plaster, masonry or unglazed ceramic
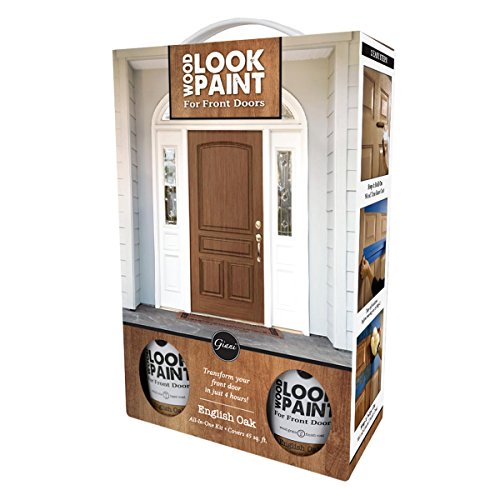
Add instant curb appeal to your home in just 4 hours
Use for a variety of indoor and outdoor project surfaces including wood, metal, plaster, masonry or unglazed ceramic


