
Yes, wood filler hardens when it dries—but it’s more than just water vanishing. Water-based fillers set in 15–30 minutes through evaporation, while solvent-based and epoxy fillers harden through chemical cross-linking, creating stronger bonds. The depth of your fill and environmental conditions (temperature, humidity) directly affect cure speed; deeper applications need overnight curing. You’ll know it’s ready when a fingernail won’t indent the surface. Understanding which filler type matches your project determines whether your repair lasts.
Quick Answer: Yes, Wood Filler Hardens When It Dries

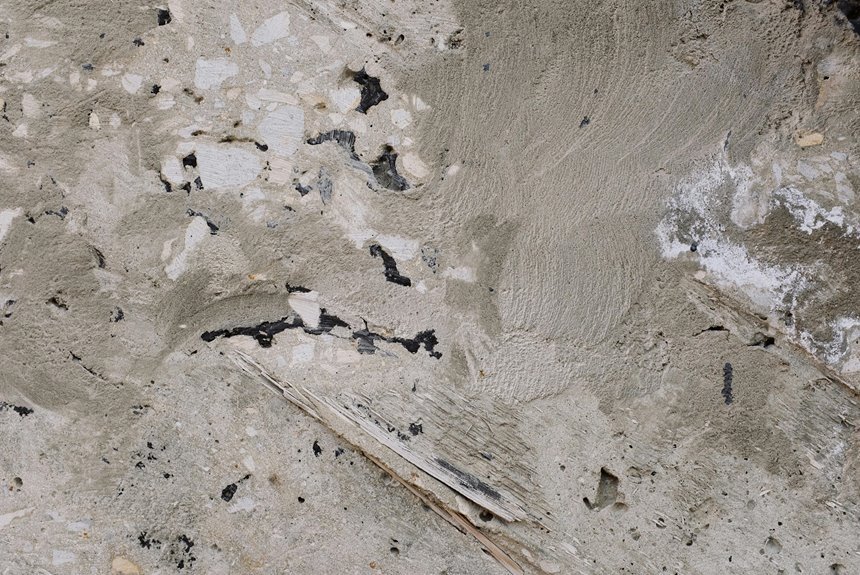
So you’ve filled a hole in your wooden bookshelf with wood filler, and now you’re wondering—will this stuff actually turn rock solid, or will it stay soft and mushy forever?
Good news: wood filler absolutely hardens when it dries. I’ve watched it change from a putty-like paste into a genuinely solid surface countless times. Here’s what happens—the moisture or solvent inside evaporates, leaving behind hardened material you can sand, paint, or stain.
Hardening Timeline
Most water-based fillers set within 15–30 minutes, though complete hardening takes longer depending on depth and humidity. You’re not waiting forever, but patience matters. Once fully cured, that filler becomes part of your wood, ready for whatever finish you choose.

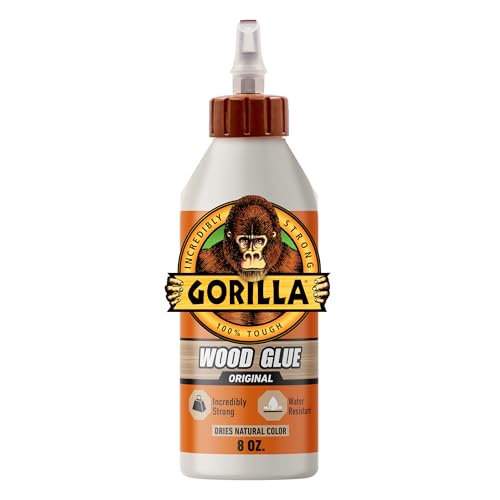
Gorilla tough: Gorilla Wood Filler is the go-to product for strong water resistant repairs on cracks, gouges and holes
Gorilla tough: Gorilla Wood Filler is the go-to product for strong water resistant repairs on cracks, gouges and holes
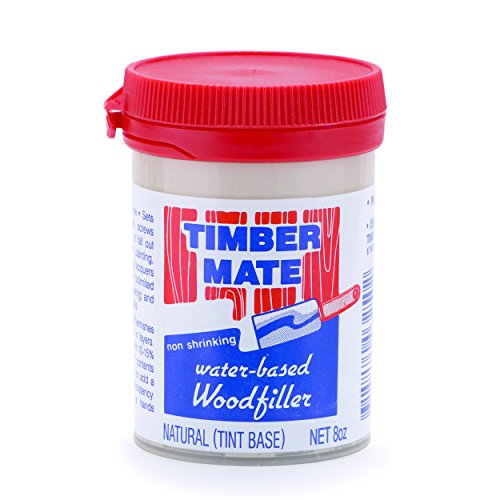
⚒️ HIGH QUALITY & MONEY SAVING: Save time and money with this wood filler that does not shrink, sink, or crack, and has excellent adhesion. Only need to apply once, and it flawlessly accepts any finish or stain! In fact, this product can be mixed with any pigment, tint, stain or dye.
How Wood Filler Hardens: Water Evaporation vs. Chemical Curing

Wood filler hardens through two main paths depending on its type: water-based fillers cure when water evaporates from the mixture, while solvent-based fillers harden through a combination of solvent evaporation and chemical reactions that bond the materials together. Understanding which process your filler uses matters because it affects how long you’ll wait and what conditions help it set properly. Here’s how each method works and why they differ:
Water-based fillers rely on water evaporation as their primary hardening mechanism. As the water content leaves the mixture, the remaining materials compress and solidify. This process depends on environmental factors like humidity, temperature, and air circulation. In humid conditions, evaporation slows considerably, extending cure times. In dry, warm environments with good airflow, the process accelerates.
Solvent-based fillers operate differently. They contain volatile organic compounds that evaporate while simultaneously triggering chemical cross-linking reactions between resin components. This dual process means the filler hardens even if evaporation alone wouldn’t be sufficient. The chemical bonding creates a harder, more durable final product compared to water-based alternatives.
Practical implications for your project include drying time, environmental requirements, and final strength. Water-based fillers typically need 24-48 hours in optimal conditions but can take much longer in cold or humid settings. Solvent-based fillers often cure faster due to their chemical reaction component, sometimes hardening in 4-8 hours. Additionally, solvent-based fillers generally provide superior hardness and water resistance, making them better suited for areas exposed to moisture or heavy use.
IDEAL FOR WHITE AND PAINTED SURFACES: Gorilla white wood filler is the go-to product for strong, durable repairs on cracks, gouges, and holes

Won't crack or shrink
Paintable and sandable
Water-Based Evaporation Process
How exactly does water-based wood filler turn from a spreadable paste into something hard enough to sand?
The answer’s simpler than you’d think. Water-based fillers harden through evaporation—as the moisture escapes into the air, the filler changes from wet paste to solid material. You’ll notice initial hardening in about 15–30 minutes, though complete curing depends on thickness, temperature, and humidity levels.
Here’s what happens: the water carrying the filler particles gradually leaves the void, leaving behind compressed material you can sand. Higher humidity slows this process, so don’t be frustrated if your filler takes longer on muggy days. The trade-off? Water-based fillers clean up easily with just water and produce minimal odor—practical benefits that make the wait worthwhile.
Solvent-Based Chemical Reactions
While water-based fillers rely on simple evaporation, solvent-based wood fillers work through a more complex hardening process—one that combines chemical reactions with solvent escape. These formulations trigger a transformation at the molecular level beyond just drying. As solvents evaporate, the resin matrix simultaneously cross-links, creating stronger molecular bonds that forge a durable solid.
You’ll notice initial hardening within hours, though complete curing takes longer depending on thickness and your workshop’s temperature. This dual-action curing chemistry is why solvent-based fillers resist weathering effectively—they’re actually bonding at a chemical level, not merely losing moisture.
Once hardened, you can sand and paint these fillers with confidence. Just remember: solvent exposure matters, so ventilate well during application.
Water-Based Fillers: Why They Harden Fast and Predictably

Water-based fillers harden through a straightforward process: as moisture evaporates from the product, the particles inside bond together and solidify, which is why visible hardening happens right before your eyes. Initial hardening kicks in around 15–30 minutes, making these fillers predictable compared to solvent-based alternatives. You’ll know roughly when you can sand or paint without guessing. Temperature and humidity play direct roles in how fast this happens, so adjusting your timeline based on workshop conditions prevents rushing ahead and damaging your finish.
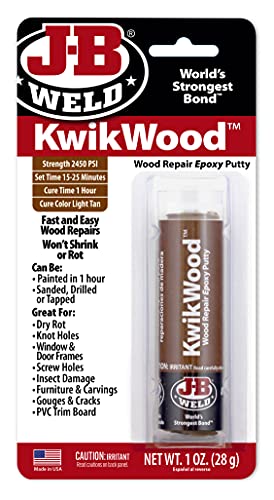
J-B WELD KWIKWOOD: A hand mixable two part epoxy putty stick that is formulated to repair and rebuild wood. J-B Weld KwikWood is designed for all wood household DIY repairs!

REPAIR DAMAGED WOOD: Fills and rebuilds missing sections to help restore windows, doors, trim, columns, posts, and other elements. Permanently repairs damage caused by weather, moisture, age, and pests.
Two-part epoxy paste to replace missing or rotted wood is resistant to dry rot, UV light, fresh and salt water
Moisture Evaporation Process
Ever wonder why you can sand a water-based wood filler just hours after applying it, while oil-based versions demand patience?
Here’s what’s happening: water-based fillers harden through moisture evaporation, a straightforward process where water gradually leaves the filler, allowing the liquid binder to cure and grip the wood fibers. I’ve watched this unfold countless times—initial hardening typically takes 15–30 minutes, though complete curing stretches across hours or even a day depending on conditions.
Temperature and humidity matter tremendously. Warmer environments accelerate evaporation, speeding up your project timeline. Higher moisture slows things down considerably. The benefit here? You’ll notice predictable progress. One catch: the filler may raise wood grain slightly during curing, necessitating light sanding afterward for that flush finish you’re after.
Quick Initial Hardening Times
How fast does that wet filler actually turn solid under your brush? Water-based fillers reach initial hardening in just 15 to 30 minutes. This rapid hardening happens because moisture evaporates quickly from the surface, triggering the film formation that makes your filler firm up.
Why the speed matters:
- You can handle or lightly sand within an hour
- Faster turnaround means less project downtime
- Environmental conditions affect this timeline
Temperature and humidity play roles in the process. Higher moisture actually accelerates initial hardening. Very dry conditions might slow things slightly, though not dramatically.
Your water-based filler won’t leave you waiting around. That quick initial set gives you practical flexibility without sacrificing quality results.
Predictable Cure Performance
Why do some fillers leave you guessing while others follow a reliable timeline? Water-based fillers give you that dependability you’re looking for. I’ve found that their curing process follows a straightforward moisture-evaporation method, meaning you know roughly what to expect at each stage. Unlike their unpredictable cousins, water-based options deliver consistent results across projects.
What makes them reliable:
- Initial hardening occurs in 15–30 minutes, letting you plan your workflow confidently
- Environmental factors like temperature and humidity are transparent influences you can monitor
- Faster overall cure compared to solvent-based alternatives means shorter waiting periods between sanding and finishing
The transparency matters. When conditions remain stable, your filler performs predictably, reducing surprises and frustration during your woodworking journey.
Solvent-Based Fillers: How They Harden Differently

The solvent-based wood fillers harden through a fundamentally different mechanism than their water-based cousins. Instead of relying on moisture evaporation, these fillers harden through solvent evaporation combined with chemical reactions. This approach creates durable results for outdoor projects where wood naturally shifts and cracks.
The Timeline
You’ll notice initial hardening within 1–2 hours, though complete curing takes longer depending on thickness and temperature. The surface becomes sandable and paintable relatively quickly, which speeds up your workflow.
Why Choose This Route
Solvent-based fillers resist cracking and movement better than water-based options, making them ideal for exposed areas. Yes, they produce stronger odors and require acetone cleanup, but that trade-off delivers superior external hardness and longevity. They’re worth considering for projects demanding resilience.

EASY APPLICATION: Easy to use, non-hardening wood putty

DAP plastic wood filler looks and acts like real wood; ideal for corners and vertical surfaces on interior or exterior wood

KIT INCLUDES our most powerful wood repair compounds, so you can repair all levels of damage to wood furniture by yourself. Includes 12 touch up fillers, 8 touch up markers, 1 wood putty, 1 beewax, 2 brushes, 2 sandpaper, 1 sponge and 1 scraper
Specialty Fillers: Why Epoxy Hardens Strongest

The cross-linking process produces a rigid matrix that won’t shrink or crack like standard fillers might. I’ve found that epoxy delivers superior strength for load-bearing repairs. You’ll achieve initial set within hours, but wait the full 24 hours for complete hardness. This patience pays off—your repair becomes durable, not just filled.

High-Performance Repair: Two-part wood filler designed for repairing and restoring damaged wood surfaces, both interior and exterior.
Complete Projects Fast: Requires only 20-30 minutes of clamp time; fully cured in 24 hours. Quickly creates an incredibly strong bond for wood projects.
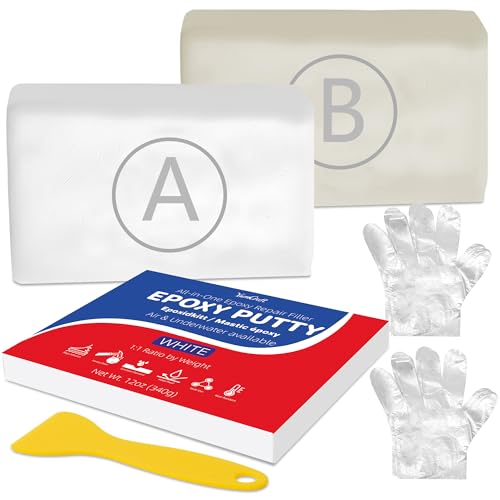
Multi-Purpose White Epoxy Putty: This 2-part AB Epoxy Putty fixes leaks, cracks, holes and uneven surfaces on metal, plastic, wood, ceramics, glass and more. As a high-strength Two-Part Filler, versatile Sculpt Clay, and handy Putty Stick, it also works as a reliable Pool Putty Fix Leaks solution and precise 2 Part Epoxy Sculpt Clay for bonding, filling and sculpting.
Wood Filler vs. Wood Putty: Why One Hardens and One Doesn’t

Choosing between wood filler and wood putty can feel confusing when you’re staring at your damaged furniture, but they’re actually built for completely different jobs.
Here’s why one hardens and one doesn’t:
- Water-based fillers cure through moisture evaporation, becoming rock-solid and sandable
- Solvent-based fillers harden via solvent evaporation plus chemical reactions, creating durable repairs
- Wood putty stays soft indefinitely, remaining pliable on finished surfaces
- Incorrect pairing means your repair won’t accept stain or paint properly
I learned this the hard way—I’d used putty where filler belonged, and my “repair” stayed mushy forever. When you need structural strength and a finished surface, wood filler is the right choice. Save putty for touch-ups only. Pick the right product, and your project will reach completion.

SPECIALLY FORMULATED FOR DEEPER PENETRATION: Our small particle size wood filler gel formula penetrates and seals pores and grains, minimizing topcoat absorption to help achieve a glass-smooth finish with fewer coats.

Stainable wood filler looks and acts like real wood; ideal for corners and vertical surfaces on interior or exterior wood
Easy preparation
Proper Application Techniques to Ensure Full Hardening

If you’re wondering why your wood filler sometimes stays soft or doesn’t sand smoothly, the problem usually starts before the filler even goes into the hole—proper surface preparation and smart application strategies are important. I’ve learned that rushing through cleanup or piling filler on too thick creates pockets that won’t fully harden, leaving you frustrated when your project isn’t ready for finishing. Let me show you how to prep your surface right and layer your filler strategically so it hardens completely every single time.

【Repair kit included】Our wood putty filler repair kit includes 1 wood putty (280g), 2 scrapers, 2 sandpapers.

FILLER FOR WOOD BASED ON NATURAL PLASTIC X 454 G

Repairs cracks, gouges + holes
Surface Preparation Essentials
How’s your wood surface looking right now? Before your wood filler can harden properly, preparation is important.
Here’s what I do to set myself up for success:
- Thoroughly clean the surface with a wire brush to remove dust, oils, and debris
- Expose sound wood by brushing degraded areas until I find solid material underneath
- Sweep or vacuum the entire workspace—no particles left behind
- Check moisture content, aiming for 6–12% before applying anything
I’ve found that skipping these steps means my wood filler won’t harden as effectively. Environmental conditions matter too—temperature and humidity influence how well it sets. Taking time here prevents frustration later. You’re building a foundation that lets the filler bond completely, so the hardening process actually works.
Layering And Curing Strategy
Building Your Layers
I’ve learned that thin, successive coats beat one thick layer every time. Here’s why: multiple thin applications cure completely throughout, while thick applications develop unmatured centers that stay soft.
Timing Matters
Between coats, I wait for initial set—typically 15–30 minutes for water-based fillers, longer for solvent-based. Temperature and humidity affect this window. I keep my workspace between 50–90°F because cooler conditions slow curing dramatically.
Testing Before Sanding
I resist the urge to sand prematurely. Once fully cured, I press my fingernail in an inconspicuous spot. If it doesn’t indent, I’m ready to level any overfill.
Why Your Wood Filler Isn’t Hardening: Common Causes

Wood filler that stays soft or tacky long after the package says it should be hard is frustrating, and I’ve seen this problem derail plenty of repair projects. The culprit usually isn’t the filler itself—it’s the conditions surrounding it.
Here’s what commonly goes wrong:
- Thick applications – Applying filler in one heavy layer traps moisture inside, preventing full hardening throughout
- Poor temperature and humidity – Cold air slows curing dramatically, while excess moisture stops it entirely
- Inadequate ventilation – Stagnant air keeps dampness trapped in the void, keeping your filler soft indefinitely
- Wrong hardener or mixing – Using incompatible products or skipping the recommended bonding agent compromises the cure
Understanding these causes helps you prevent them. Thin layers, proper airflow, and ideal conditions lead to successful results.

Two-part epoxy paste to replace missing or rotted wood is resistant to dry rot, UV light, fresh and salt water

JB WOODWELD: Is a fast setting two-part epoxy system formulated for wood bonding and repairs. It provides a lasting permanent bond that is stronger than the wood!

Two-part epoxy paste to replace missing or rotted wood is resistant to dry rot, UV light, fresh and salt water
How Long Before Your Filler Is Ready to Sand?

When Your Filler Is Ready to Sand
After patching a hole and smoothing the filler flush with the surrounding wood, you need to wait for it to fully cure before sanding.
Initial Hardening vs. Full Cure
Water-based fillers typically harden within 15–30 minutes, while solvent-based versions need 1–2 hours. However, initial hardening doesn’t mean you’re ready to sand. Full cure time ranges from several hours to 24 hours or beyond, depending on fill depth and conditions.
What Affects Your Timeline
Temperature and humidity dramatically influence cure time. Warmer, more humid environments actually speed things up for moisture-based products, while cold or dry conditions slow everything down. Waiting in the right conditions beats rushing.
Test Before Sanding
Press your fingernail gently against the filler. If it resists without denting, you’re ready.

WOOD PUTTY – Minwax Wood Putty is a non-hardening, pre-mixed putty color-matched to Minwax Wood Finish stains and intended to repair minor scratches, gouges, and nail holes.

Suitable for both indoor and outdoor wood projects.
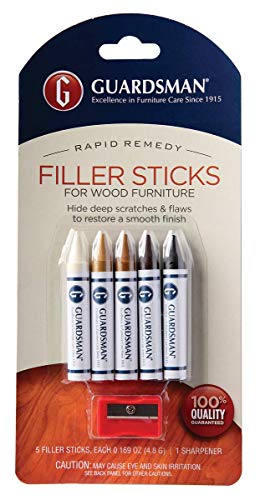
Keep your wood furniture looking new with our furniture repair kit, including 5 color blends of wood filler sticks and 1 sharpener for quick and easy repairs; touch up surface scratches or blemishes and fill in scuffs on your wooden furniture
Finishing Over Hardened Wood Filler: Staining and Painting

After you’ve confirmed your filler’s ready—that fingernail test from earlier confirms it—you’re standing at the real finish line: actually making the repair disappear.
Here’s what works best:
- Sand lightly first – Some fillers raise the grain slightly, so a quick pass with fine-grit sandpaper smooths everything out
- Use pre-stain conditioner – This equalizes absorption between your water-based wood fillers and surrounding wood, preventing blotchy staining
- Test on hidden areas – Stainable fillers don’t always match perfectly, so preview your results before committing
- Allow complete hardening – Follow product guidelines religiously; rushing causes adhesion problems that ruin your finish
Whether you’re staining or painting, patience during hardening pays off. I’ve seen repairs vanish completely when you respect the process.

Easy 2-Part Mixing: Simply mix equal parts of A and B putty until the color becomes uniform. Easy to shape and apply for everyday repair projects

Single pour up to 2 inches deep – Sudale Deep Pour Epoxy Resin comes as a 2:1 kit (2 parts resin to 1 part hardener). With its generous volume and deep-pour capability, it is ideal for river tables, countertops, wood encapsulation, vases, coasters, and both deep and shallow casting projects.

Original formula for repairing dents, dings, holes, large rusted areas and scratches in vehicles
Pre-Treatment With Wood Hardener for Severe Damage

How do you fix wood that’s turned soft and spongy from water damage or rot?
I’ve learned that skipping the hardener step leads to disaster. Before applying any filler, you’ll want to use a product like LiquidWood to consolidate those weakened fibers. This hardener penetrates deep into damaged wood, reinforcing open pores and creating a solid foundation.
The Process:
- Apply LiquidWood generously to saturated areas
- Let it reach a tacky stage—not fully cured
- This timing maximizes adhesion for your filler
The science here matters. A properly consolidated surface prevents future cracks and premature failures. I’ve watched repairs crumble when someone rushed past this step. The hardener stabilizes friable wood into something solid enough to accept filler, so your repair actually holds long-term.
How to Tell When Your Wood Filler Is Actually Ready

Once you’ve applied your filler over that hardened wood surface, patience becomes your next tool. I’ve learned that knowing when your filler’s truly ready prevents frustrating mistakes later on.
Here’s how I check if it’s fully cured:
- Press with your fingernail – A fully cured filler resists indenting; if it dents easily, it needs more time
- Sand lightly – Ready filler reveals a stable, sandable surface without crumbling
- Check the appearance – Avoid that shiny surface that signals incomplete curing
- Test firmness – Light pressure shouldn’t deform the material
Temperature and humidity influence drying speed considerably. Water-based fillers might raise grain slightly, requiring gentle re-sanding. I typically wait several hours minimum, though deeper fills demand overnight curing. Follow the process—rushing creates problems you’ll regret.


