
Start by shutting off water beneath your sink and gathering supplies—putty, PTFE tape, and your new drain kit. Next, remove the old assembly by loosening the locknut under the basin with pliers, then scrape away old putty.
Finally, install your new drain flange using plumber’s putty, hand-tighten the locknut from below, and connect your P-trap to the wall stub-out. Run water to test for leaks, tightening joints as needed. The whole process takes about an hour once you understand each connection’s purpose.
Gather Supplies and Shut Off Water

Turn Off the Water
Locate both shut-off valves beneath your sink. Turn them clockwise until they stop—don’t force them. Open your faucet to release any remaining pressure in the lines. This prevents messy surprises.
Prepare Your Workspace
Grab a bucket and place it under the P-trap. You’ll disconnect supply lines next, and water will drip. Gather your materials: silicone putty, PTFE tape, and your new drain kit. Having everything ready means you won’t scramble mid-project.
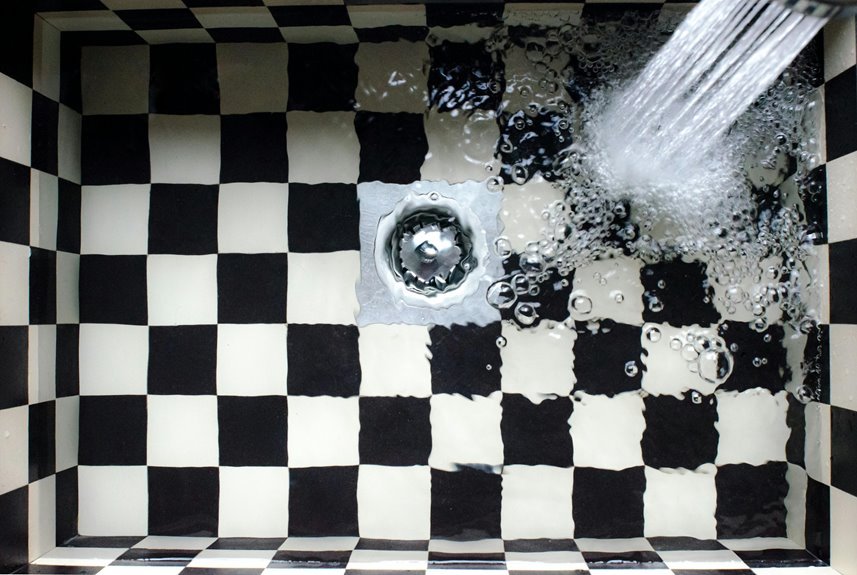
Remove Old Hardware
Carefully disconnect the faucet supply lines while steadying the shut-off valves. Loosen the slip nuts by hand around the P-trap. Position your bucket underneath first.
You’re ready for removal.

All-Metal & Rustproof: The pop up drain stopper for bathroom sink is made of brass and 304 stainless steel without any plastic parts. High-quality finish ensures that the pop up sink drain resists scratches, corrosion and tarnishing, which is rustproof and long-lasting

Universal Fit: Hygie Rinse bathroom vanity sink drain is with overflow and fits a drain hole diameter of 1.60 in to 2.20 in; Compatible with Moen, American Standard, and almost all standard sinks

Premium Material: This drain stopper is constructed of anti-explosion and anti-cracking stainless steel, with a smooth surface, protecting against corrosion and rust in a humid environment, integrally-molded and seamless, no water leakage phenomenon
Remove the Old Drain Assembly

First, I locate the locknut beneath the basin holding the drain flange in place. Using channel-lock pliers, I loosen it counterclockwise and remove it completely. Next, I push the drain body upward through the sink from below while lifting the flange out from the top. This takes a bit of maneuvering, but with patience you can complete this step.
Once the old drain assembly is out, I scrape away old putty or silicone from the sink opening with a plastic scraper. Be careful here—you don’t want to damage the porcelain. Finally, I wipe the mounting area clean, preparing it for the new drain. A clean surface is necessary for your new drain to sit properly and seal correctly.

Versatile Plumbing Putty: Black Swan Plumbers Putty is an effective waterproof putty sealant, perfect for setting bowls, fixtures, faucets, and more

Made in United States

OATEY 14 OZ PLUMBERS PUTTY 31166 (31166) (24/each)
Connect the New Drain Assembly and P-Trap

With the old drain completely removed and the sink basin clean, you’re ready to install the new drain assembly. Follow these steps to connect everything properly.
| Step | Component | Action |
|---|---|---|
| 1 | Drain flange | Roll plumber’s putty to pencil thickness, install from above |
| 2 | Gasket & locknut | Slide from below, hand-tighten, then firm turn with pliers |
| 3 | P-trap assembly | Slide tailpiece onto drain body, attach J-bend to wall stub-out |
Assembling Your P-Trap
Start by sliding the tailpiece onto your drain body. Next, attach the J-bend, making sure slip nuts and washers face the right direction. Connect everything to the wall stub-out. If you need a new trap adapter, use ABS cement on ABS pipes, twisting it fully onto the pipe.
Finally, test for leaks by running water and draining. Tighten any weeping joints slightly and retest.

Teflon tape has a sealing function to prevent the leakage of water or gas.

Has been used to seal fittings carrying water and oil at pressures up to 10,000 PSI

Teflon tape has a sealing function to prevent the leakage of water or gas.


