
I’ll show you how to refresh tired tiles without renovation costs. Start by cleaning thoroughly with TSP solution, then repair any cracked grout and tape off edges for crisp lines. Apply a quality tile primer next—this helps paint adhere properly to slick surfaces. Once primed, apply thin, even paint coats using brushes for details and rollers for larger areas. Finally, let everything cure completely (several days) before exposing tiles to moisture or heavy use. Follow these steps carefully, and you’ll achieve professional-looking results.
Step 1: Check Your Tiles and Clean Thoroughly

Step 1: Check Your Tiles and Clean Thoroughly
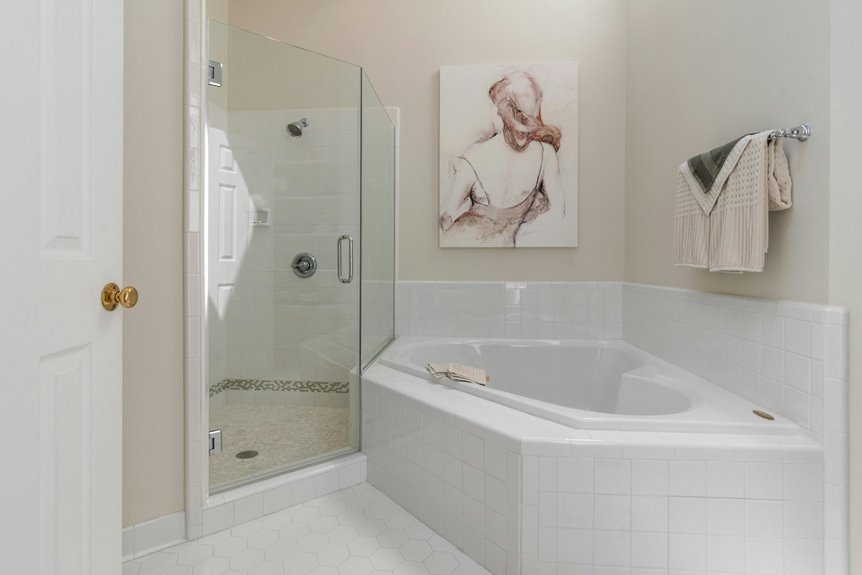
Before you crack open that paint can, take a hard look at what you’re working with—because painting over dirty tiles is like trying to build a house on sand.
Painting over dirty tiles is like building a house on sand—inspect and clean thoroughly first.
The Cleaning Process
I start by mixing equal parts TSP (trisodium phosphate) and water, then scrub every tile, grout line, and textured surface thoroughly. This removes stubborn dirt, grease, and mold that’ll sabotage your finish. Don’t skip the edges—grime hides there.
What Comes Next
After scrubbing, I rinse completely and dry everything with towels. Check for loose or cracked grout and repair it now; gaps’ll show through your paint later, ruining your hard work.
Safety First
Wear protective gear and maintain good ventilation while handling cleaners. This prep work determines whether your tiles look professionally painted or amateur.
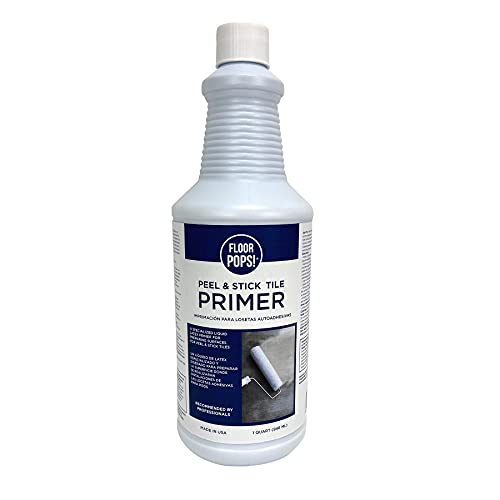
Latex floor primer for FloorPops peel and stick floor tiles


SURFACE PREP KIT ONLY – This is not a paint or refinishing coating. The EZ-Etch Kit is a chemical etching solution that prepares your surface for Bathworks refinishing coatings. Must be used with a Bathworks refinishing kit (sold separately).
Step 2: Fix Grout Gaps and Tape Off Edges

With your tiles clean and dry, you’ll spot any problem areas—those loose or cracked grout lines I mentioned—and now’s the time to patch them up. I fill these grout gaps with fresh grout, letting it cure completely. This prevents paint intrusion and creates a polished foundation.
Next comes the masking tape phase, which is important for quality results:
- Apply painter’s tape along edges where tiles meet walls, covering grout lines entirely
- Press tape firmly onto your dust-free surface to maximize adhesion and prevent paint bleeding
- Leave tile faces completely exposed for even topcoat application
Once you’ve created these crisp lines with edge masking, you’re protecting your fixtures and surrounding areas. I’ve learned that proper edge masking takes patience, but it’s worth the effort for professional-looking results.
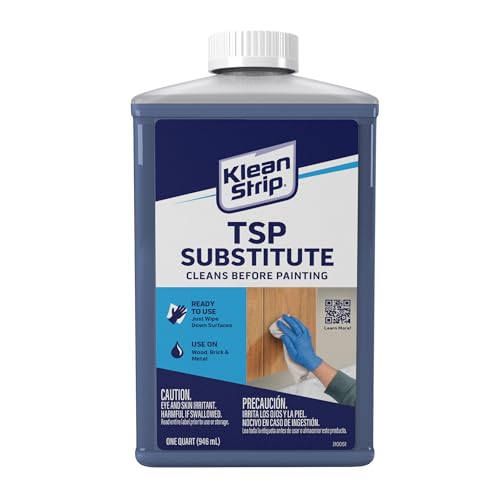
This item is Klean-Strip 0408 TSP Trisodium Phosphate Substitute No-Rinse Quart

Country Of Origin: China

PHOSPHATE-FREE, NO-RINSE FORMULA: A modern, eco-conscious alternative to TSP. Cleans without rinsing—saves time and reduces environmental impact.
Step 3: Prime Your Tiles for Better Adhesion

Step 3: Prime Your Tiles for Better Adhesion
Primer is the key ingredient for a tile-painting project that lasts. Skipping this step leads to peeling paint within months, so it’s worth doing properly.
| Product | Best For |
|---|---|
| Extreme Bond | Maximum adhesion on slick surfaces |
| Tile-specific primer | General tile preparation |
| Roller application | Large tile areas |
| Brush application | Small or detailed spots |
| Full curing | Before any topcoat |
Apply your tile primer using a roller for bigger tiles and a brush for smaller details. What matters: test adhesion in a hidden spot first. Let it cure completely—this waiting period improves success rates. If needed, lightly re-clean afterward, but avoid aggressive scrubbing that damages the delicate primed surface.
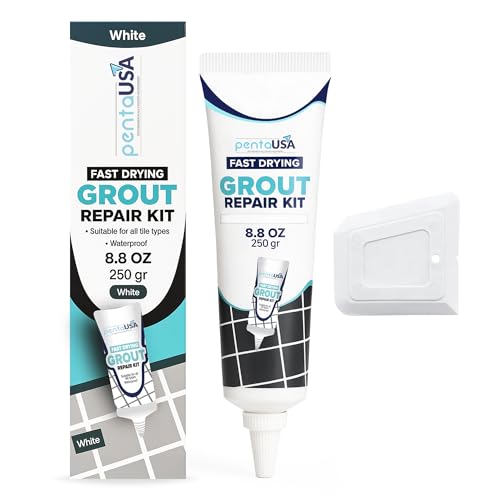
Acrylic Sanded Grout Filler That Cures Into Solid Grout - This premixed tile grout repair contains acrylic sanded grout material in a clean white tone that fills cracks, missing sections, and damaged joints, curing into solid grout-like material that bonds to existing grout and tile for durable structural repair on floors, walls, and countertops. Designed for DIY tile grout repair, suitable for first-time users, homeowners, and handyperson-level work.
EXCELLENT ADHESION: Adheres to all types of ceramic & mosaic tile

Clean Fill and Protect 3-in-1: This tile grout repair kit is ideal for filling gaps. Whether you need to repair vertical or horizontal surfaces, our formula delivers smooth, long-lasting results. It can also be used with grout filler, which provides waterproofing and reinforcement to protect gaps and prevent stains in brick grout
Step 4: Apply Your Tile Paint in Even Coats

Once your primer’s fully cured, you’re ready to apply the paint itself. Using quality brushes for edges and rollers for larger areas provides a professional finish.
Here’s what makes tile painting successful:
- Apply thin, even coats rather than one thick layer—this prevents drips and allows uniform coverage
- Follow the manufacturer’s dry time between coats; patience here results in better adhesion
- Use masking tape along edges to create crisp lines, removing it while paint’s slightly damp
For textured tiles or patterns, plan for 2–3 coats to achieve solid color. If touching up grout lines, a small brush prevents flooding surrounding tiles. Consistent application technique produces professional results on your bathroom tiles.
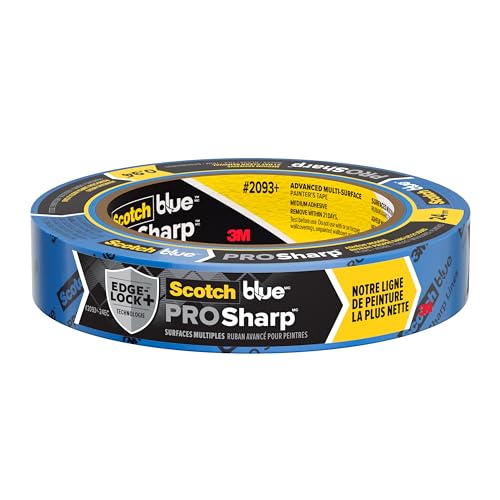
MEDIUM ADHESIVE FOR SMOOTH OR LIGHTLY TEXTURED SURFACES: This blue paint tape has a medium-strength adhesive that sticks securely to smooth or lightly textured walls, trim, tile, and glass, helping prevent paint bleed and ensuring professional results

READY. SET. PAINT!: 1 roll of 1.88 inch wide ScotchBlue Original Painter's Tape, a multi-surface solution for preparing to paint your living or working environment

Professional Mask Tape - Multi-Surface adhesive tape made of high quality blue crepe paper not easy to lift or curl, has sunlight, UV, heat, moisture resistant, sturdy to use. So, blue tape painters tape is very much suitable for indoor and outdoor, office, home decoration, classroom. And, its paper use environment friendly material, harmless to human body, using blue paint tape can reduce the natural burden. Excellent blue masking tape for packaging, closing, and light duty masking and sealing.
Step 5: Let Your Paint Cure Completely Before Using the Room

Your tiles might look dry after a few hours, but they’re not actually ready yet—and that’s where patience becomes your best tool.
I’ve learned this the hard way. The paint cure time varies depending on your tile paint type. With chalk or latex paints, you’ll need a longer cure window—typically 24 to 48 hours between coats. After your final coat, wait several days before exposing your bathroom tiles to moisture or heavy use.
Here’s what I do: I avoid heavy use entirely until drying completely. I skip aggressive cleaning and harsh cleaners that might dull the finish. If you’re using a top sealant, follow manufacturer guidelines precisely.
The reward? Durable, beautiful tiles that’ll last. Give the process the time it needs—your bathroom deserves this investment.

WHAT'S IN THIS 10 PIECE PAINT KIT FOR WALLS: includes one plastic paint tray; one 9 inch roller frame; one 4 inch mini roller frame; two 9 inch microfiber roller covers (1/2 inch nap); two 4 inch microfiber roller covers (1/2 inch nap); one 1 inch flat brush; one 1.5 inch angle sash brush; one 2 inch angle sash brush; verify all 10 pieces upon delivery

Bates paint roller kit includes 19 essential pieces for home painting, prep, and cleanup projects.

13 Pieces Painting Set: The small paint roller kit includes a 4 inch paint roller frame, a 4 inch red paint tray, paint tray liners 3 pcs, 4 inch microfiber paint roller covers 6 pcs, a 1.5 inch angled paint brush and a piece of drop cloth. Equipped with everything you need to complete any paint job with ease


