
You can skip primer on water-based stains with thorough cleaning and deglossing, but I’d caution you on oil-based stains or tannin-heavy woods like cedar—they’ll bleed through within years without shellac-based primer.
Here’s the reality: proper prep (TSP cleaning, liquid deglosser, bonding primer) matters more than skipping primer itself.
Two thin coats beat one thick coat.
The real question isn’t whether you *can* avoid primer, but whether your specific situation actually supports it—and that depends on details worth exploring.
The Honest Truth: Why Priming Usually Matters (But Doesn’t Always)

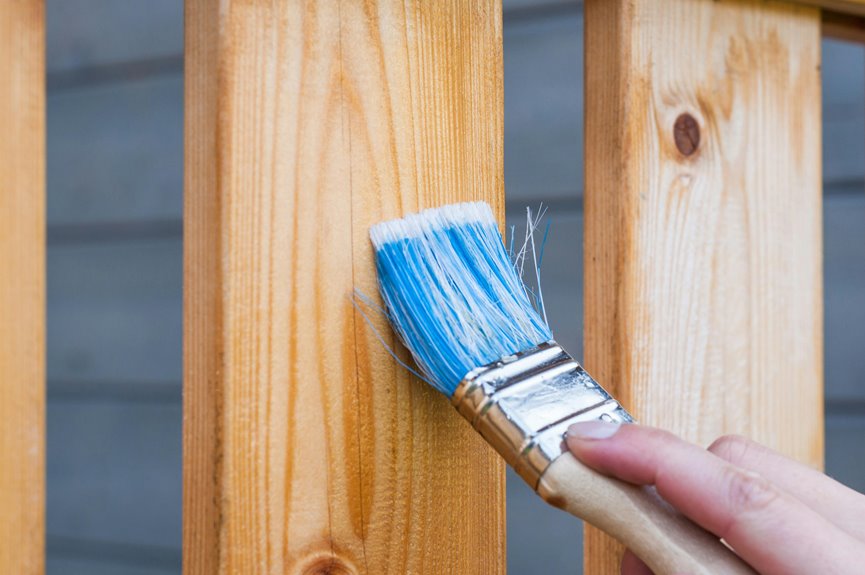
If you’ve ever painted over stained wood and watched the old color bleed through your fresh coat like a watercolor painting left in the rain, you’ve learned the hard way why priming matters.
Here’s what I’ve discovered: a quality stain-blocking primer stops tannins from migrating into your new paint. Oil-based stains especially need this protection. That said, I’ve found that proper prep work—deglossing glossy surfaces and light sanding—combined with a bonding primer sometimes lets you skip the topcoat entirely. Don’t count on this consistently, though.
The real truth? Adhesion issues emerge on high-traffic surfaces without primer protection. I recommend priming as your preventative step. You’re joining countless painters who’ve learned that this foundation work saves frustration later.

CLOSET STORAGE: Cedar Blocks for Clothes Storage - 100% Aromatic Red Cedar Wood Blocks for Closet Storage,red cedar wood storage accessories. Used for closet storage to protect your valuable Cashmere clothes and so on.

SAFE FOR FOOD CONTACT: Specially formulated for butcher blocks, cutting boards, salad bowls, and interior wood surfaces; nontoxic and safe for food contact when fully dried per 21 CFR 175.300
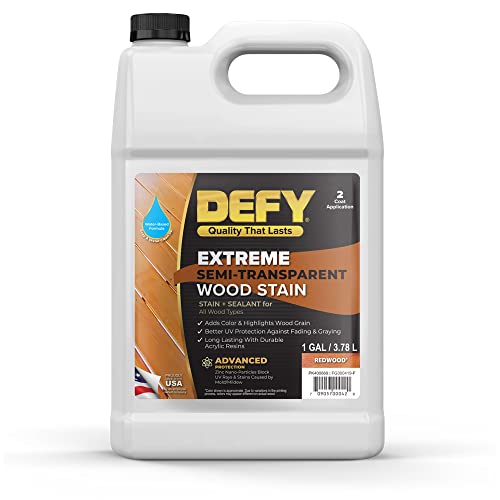
ADVANCED PROTECTION FOR OUTDOOR WOOD: DEFY Extreme wood stains offer high-performance deck stain and sealer products that prevent graying & weathering while also extending the life of exterior wood surfaces
Identify Your Stain Type Before Skipping Primer

Identify Your Stain Type Before Skipping Primer
You can’t skip primer effectively without knowing what you’re working with, and that means identifying your stain type first.
Why Stain Type Matters
I’ve learned the hard way that getting this wrong leads to bleed-through—those frustrating dark spots seeping through fresh paint. Cedar, redwood, and pine are notorious culprits because their tannins migrate upward.
How to Identify Your Stain
Test an inconspicuous corner with water. If beads form, you’ve got oil-based stain. If it absorbs, it’s water-based. This simple wood preparation step determines everything.
Matching Your Primer Choice
Oil-based stains demand shellac-based primer to seal tannins effectively. Water-based stains work with water- or oil-based bonding primers. Misidentifying your stain type invites paint failure and wasted effort.
Know your enemy before you prime.

Cover stain, QT, Oil based stain killer primer/sealer

Get ultimate hiding power indoors and out with Zinsser Cover Stain Primer
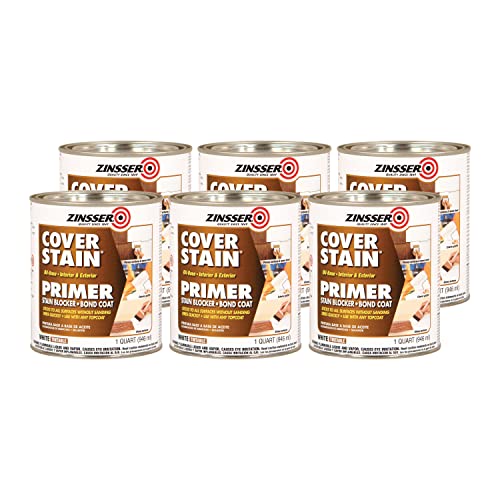
High-hiding formula blocks most stains and helps seal water, smoke and nicotine stains
Water-Based Stains: When You Can Paint Without Primer

Water-Based Stains: When You Can Paint Without Primer
Why do water-based stains deserve special treatment? They’re actually forgiving partners when you’re skipping primer—I’ve found this works because water-based formulas don’t resist paint as stubbornly as oil-based ones do.
Here’s what I’ve learned matters most:
Surface preparation is critical. Thoroughly clean the stained wood, then lightly scuff it with fine-grit sandpaper. This roughness helps your topcoat grip better and reduces bleed-through risk.
Test first. I always paint a small test area to confirm no tannin bleed appears before committing to the full project.
Pick quality paint. Use a high-quality latex or acrylic enamel topcoat. If bleed-through does occur, grab a bonding primer immediately—it’ll save your work.
Water-based stains that’re recently applied and fully cured? Your best candidates for primer-free painting.
This product is Non-toxic

THICK, NO-DRIP FORMULA: Less mess than traditional wood stains and applies smoothly on horizontal and vertical surfaces including wood, metal, fiberglass and more

WIDE APPLICATION: Our Angelus Acrylic leather paint is perfect for any smooth leather goods, such as leather shoes, sneakers, sofas, leather jackets, handbags, leather bags, wallets, & more.
Oil-Based and Tannin-Rich Woods: Don’t Skip This Step

I’ve learned the hard way that oil-based stains and woods like cedar or pine demand a different approach than water-based options—skipping primer here practically guarantees you’ll see stains bleeding through your new paint within weeks. The tannins in these woods are persistent troublemakers, and they’ll seep right through latex paint unless you seal them first with the right primer. That’s why I always reach for either a shellac-based primer like Zinsser BIN or an oil-based primer like Kilz Original; they’re your real defense against discoloration and peeling down the road.

Designed for interior and exterior surfaces


General Finishes NEW water based white primer
Tannin Bleed-Through Risks
Ever noticed a brownish or yellowish haze creeping through fresh paint on old wood? That’s tannin bleed-through, and it’s frustrating. When you paint over an oil-based stain without proper protection, those stubborn compounds migrate right through your new finish, ruining your work.
Here’s what happens: tannin-rich woods like cedar and redwood contain natural oils that escape, especially from older, weathered stains. The wood finish bleed occurs because oil-based stain penetrates deeply into the grain. Without a stain-blocking primer—ideally a shellac-based primer or oil-based alternative—you’re fighting a losing battle.
I learned this the hard way. Skipping primer meant repainting twice. A quality stain-blocking primer seals those tannins effectively, protecting your investment and saving you time and frustration down the road.
Primer Selection For Woods
When you’re staring down a stained cedar deck or pine trim that’s seen better days, your next move—choosing the right primer—determines whether you’ll end up with a durable, lasting finish or frustrating bleed-through that sends you back to square one.
I’ve learned the hard way: bonding primers alone won’t work for oil-based stains and tannin-rich woods. You need a shellac-based primer like Zinsser BIN, which actually blocks tannin bleed before it starts. If you’re dealing with heavy oil-based stain, pairing a shellac-based primer with a quality bonding primer gives you the strongest defense. Skip priming here, and latex paint peels faster than expected. One well-adhered coat following product cure times keeps your paint job looking fresh for years.
How to Prepare Stained Wood Without Primer (The Right Way)

Why does paint sometimes peel off stained wood like old sunburned skin? The culprit is usually poor surface preparation. I’ve learned this the hard way.
Start with thorough cleaning using TSP or Simple Green to remove oils and dirt. This step matters more than you’d think—it’s your foundation for adhesion.
Thorough cleaning with TSP or Simple Green removes oils and dirt—your essential foundation for paint adhesion.
Next, tackle deglossing. I use a liquid deglosser on glossy surfaces to dull the finish and chemically etch the wood. This creates the tooth your paint needs without generating sanding dust everywhere.
Then comes the honest truth: you’ll still want a bonding primer. I know the title says “without priming,” but skipping this sabotages everything. A quality bonding primer seals stains and keeps your finish coat from peeling—because stained wood demands this extra layer of protection.

PROTECT WOOD SURFACES – Minwax Polycrylic Protective Finish protects and adds beauty to your interior wood projects, including woodwork, furniture, doors and cabinets. The clear top coat protects against scratches, spills, dirt and more.


DURABLE SATIN FINISH – Minwax Wipe-On Poly is a high-quality, durable oil-based polyurethane finish that provides protection with a classic, hand-rubbed look.
Why Cleaning Replaces Primer for Stained Wood

I’ve learned that thorough cleaning with a chemical degreaser can be your hidden ace—it tackles the grime and residue that prevent paint from sticking, sometimes doing the job of primer all on its own. When you scrub away built-up dirt and oils, you’re actually creating the surface preparation that primers are designed to achieve, which means you’re not really skipping a necessary step, just combining it with your cleaning routine. This approach works especially well on lightly stained wood where the stain itself isn’t bleeding through, giving you a legitimate shortcut that saves time without sacrificing durability.
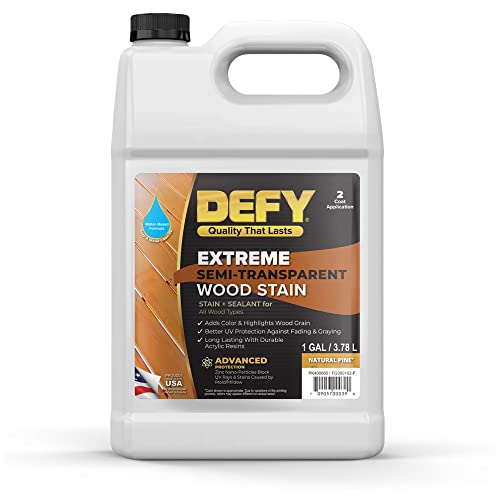
ADVANCED PROTECTION FOR OUTDOOR WOOD: DEFY Extreme wood stains offer high-performance deck stain and sealer products that prevent graying & weathering while also extending the life of exterior wood surfaces

Easy to Use - Tung oil is a natural oil recognized by craftsmen to offer the ultimate hand-rubbed finish for all fine woods; just wipe on and allow the oil to cure at room temperature

All-in-one protection and color – Combines premium wood stain and durable sealant for easy application, offering a rich palette of colors while shielding against UV rays, moisture, and weathering
Surface Preparation Fundamentals
You can skip a lot of steps when painting over stained wood, but you absolutely can’t skip cleaning.
I discovered this when my first attempt at painting over stained wood failed miserably. The paint peeled within weeks. What I didn’t realize was that cleaning creates the adhesion your paint needs.
Start with a TSP cleaner or degreaser to remove dirt, oils, and grime. This step is non-negotiable. If your wood’s glossy, deglossing chemically dulls the shine, helping paint grip better.
After cleaning thoroughly, you’re actually ready to paint. A bonding primer sealed those stubborn stains and locked everything down. That’s when I finally understood: cleaning isn’t just preparation—it’s your foundation for paint that actually stays.
Chemical Cleaning Benefits
What’s the real reason cleaning matters more than you’d think when painting stained wood? A quality degreaser removes oils and dirt that primer can’t penetrate—which means your paint fails before it even starts. I’ve learned that thorough cleaning with a solvent cleaner accomplishes what many skip: it creates the foundation for adhesion.
Here’s what happens: deglossing and chemical cleaning work together to dull glossy surfaces, giving your paint something to grip. When you skip this step, bleed-through occurs—stain bleeds through your finish, ruining everything.
Why cleaning substitutes for priming:
- Removes oils preventing adhesion
- Eliminates bleed-through risk
- Creates surface roughness for bonding
- Reduces primer dependency
This approach saves time and money while delivering durability. You’re not cutting corners; you’re working smarter.
Deglossing Stained Wood: Your Primer Substitute

When you’re staring down a glossy, stained wooden surface and wondering how to make paint stick without hauling out all your sanding equipment, there’s a smarter shortcut worth considering: liquid deglossers.
I’ve found that deglossing chemically dulls that shiny finish, creating the adhesion your paint needs. You’re mimicking what sandpaper does—roughing things up—but without the dust and labor. After cleaning thoroughly, I apply the deglosser, let it cure properly, then follow with a stain-blocking bonding primer. This combination tackles stain bleed-through while securing your topcoat’s bond.
For lightly finished surfaces, deglossing works as a legitimate sanding substitute. It’s faster, cleaner, and honestly, works well for painters who prefer the easier path. You’re not skipping steps; you’re working smarter.

Blocks water, smoke and tannin stains

Interior and exterior
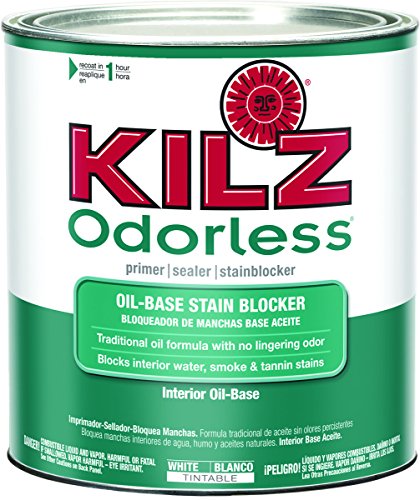
Seals and blocks interior stains and odors
Choose a Paint Built for Stained Wood (Not Standard Latex)

Once your deglosser’s done its job and that surface is prepped, the paint itself matters just as much as the primer underneath. I’ve learned that standard latex won’t cut it here—you need something formulated to grip stained wood.
Here’s what separates success from disappointment:
- Bonding primers paired with latex enamel topcoats create a durable finish that resists peeling
- Shellac-based primers offer superior stain-blocking when you’ve skipped traditional primer steps
- Acrylic enamel finishes provide better adhesion over deglosser-treated surfaces than basic latex paints
The combination works because enamel paints harden differently, creating a protective layer that standard latex can’t match. I’d recommend two thin coats rather than one thick one—patience here prevents frustration later. Your deglosser prepped the battlefield; now your paint choice determines whether you win or lose.

THICK, NO-DRIP FORMULA: Less mess than traditional wood stains and applies smoothly on horizontal and vertical surfaces including wood, metal, fiberglass and more

THICK, NO-DRIP FORMULA: Less mess than traditional wood stains and applies smoothly on horizontal and vertical surfaces including wood, metal, fiberglass and more

Water-based wood stain creates rich, even color in 1 coat on most surfaces
Apply Thin Coats in Sequence (The Compensating Strategy Without Primer)

When you skip the primer, thin coats become your best friend—I’ve found that applying two or three lightweight layers actually compensates for that missing bonding base by giving the paint multiple chances to grip the stained surface. You’ll want to space each coat according to the paint manufacturer’s drying time (usually 2–4 hours for latex), which prevents lap marks and gives each layer time to cure before you add the next one. The key is patience: rushing this sequential approach defeats the whole purpose, so I treat the waiting time as part of the process rather than an obstacle.

ENHANCING SPRAY TAN PRIMER – Prep your skin with the Norvell Glow System Pre-Tan Enhancing Primer! Step one of our Glow System regimen, this smooth primer lotion is designed to balance pH levels of your skin to intensify your spray tan.
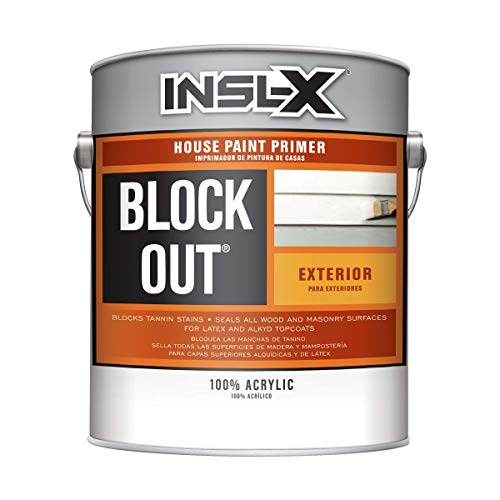
Multi-purpose latex exterior whole-house tannin stain blocking primer for new or weathered exterior wood.

Powerful Color Blocking: High-hide acrylic formula blocks wood tannins and old paint colors, ensuring vibrant and accurate color payoff from your final cabinet or furniture paint layer.
Thin Coat Application Strategy
How do you build a durable finish on stained wood without relying on a traditional primer coat? I’ve found that applying multiple thin coats works well when you follow a deliberate approach.
After using a bonding primer to block stain bleed-through, I apply my paint in layers. Here’s what I do:
- Apply the first coat thinly and evenly, avoiding pooling
- Wait for full curing per the can’s recoat instructions
- Apply a second thin coat for complete even coverage
Deglossing the surface beforehand helps each coat grip better. I keep my workspace clean and dust-free because particles stick to wet paint. This thin coats strategy builds durability through proper adhesion rather than thickness, creating a finish that lasts.
Sequential Layering for Adhesion
The thin coat approach I just described works even better when you think of it as a sequential building process—each layer doing its job before the next one goes on. I’ve found that starting with a quality bonding primer creates that rough, adherent surface you need. Then I apply thin coats methodically, letting proper dry times between applications do the heavy lifting.
| Layer | Purpose | Dry Time | Coverage |
|---|---|---|---|
| Bonding Primer | Creates adhesion foundation | 2–4 hours | Full surface |
| First Paint Coat | Establishes color base | 2–4 hours | Thin, even |
| Second Paint Coat | Builds film integrity | 2–4 hours | Thin, even |
| Final Coat | Achieves durability | 24 hours full cure | Thin, even |
This sequential method minimizes solvent interaction with underlying stain, preventing lifted edges and bleed-through over time.
Drying Time Between Coats
Why does drying time matter so much when you’re painting stained wood without primer? I’ll tell you—rushing between coats invites disaster. When you skip a bonding primer, your paint relies entirely on proper adhesion timing. Here’s what I’ve learned works:
- Follow the product’s stated recoat time, not guesswork
- Allow latex paint 4–6 hours minimum; cooler conditions need 24 hours
- Use a tack cloth between coats to catch dust and prevent stain bleed
Your cure time determines everything. If you reapply too soon, the first coat hasn’t properly bonded, creating weak spots vulnerable to chipping. I always wait until that tack-free surface feels ready. Patience during this phase creates a finish that resists chipping and protects your investment against moisture and wear.
Why Bleed-Through Happens (And How to Spot It Early)

Ever wonder why your fresh coat of paint sometimes develops those stubborn brown or yellowish streaks weeks after you’ve finished? That’s bleed-through, and it’s a common problem for DIYers.
Brown or yellowish streaks appearing weeks after painting? That’s bleed-through—a frustratingly common DIY problem caused by tannins migrating through paint layers.
Here’s what’s happening: tannins—natural compounds in cedar, redwood, and pine—migrate through your paint layers. Oil-based vs water-based stain matters tremendously. Oil-based stains penetrate deeper, making bleed-through more likely when you paint over them with latex.
Spot it early by watching for:
- Brown or yellow discoloration appearing gradually
- Streaks along wood grain patterns
- Darker areas returning within weeks
The fix? Use a stain-blocking primer. Shellac-based primers like BIN work best, sealing those tannins permanently so they can’t resurface and ruin your work.
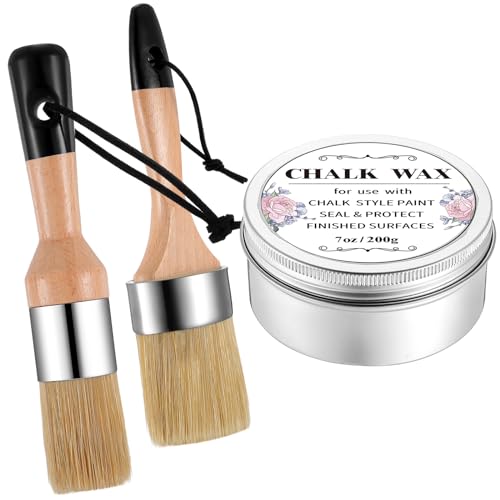
Versatile Clear Finishing Wax: dive into the world of polishing, renewal, and nourishment with our furniture wax and furniture paint brush combo, the 2 brushes made with synthetic bristles and wooden handles, easy to grip, providing a smooth, easy application process on different types of wood, the wax can also bring worn and dull metal back to life, it's specifically crafted to cater to a wide range of uses, making it a reliable addition to your DIY toolkit

DURABLE GLOSS FINISH – Minwax Wipe-On Poly is a high-quality, durable oil-based polyurethane finish that provides protection with a classic, hand-rubbed look.
When Paint Fails: Fixes for No-Primer Mistakes

So you’ve spotted that telltale bleed-through creeping back through your paint—now what? Don’t panic; I’ve been there too.
When paint fails after skipping primer, tannins from oil-based stains and adhesion failure are usually the culprits. Here’s how I fix it:
- Clean thoroughly and degloss the surface to remove dirt and shine
- Apply a stain-blocking primer—this seals tannins and improves grip
- Use shellac-based primer like Zinsser BIN for stubborn stains, then topcoat with latex enamel
Sand lightly if chipping occurs, creating tooth for better adhesion. Let everything dry completely per product instructions before repainting. Apply two thin coats instead of one thick one, spacing them properly. You’re not alone in this—we’ve all learned these lessons the hard way.
Does Weather Matter for No-Primer Paint on Interior Wood?

Interior conditions matter just as much as the wood itself.
Temperature and humidity affect how paint adheres. Extreme cold or dampness can prevent proper bonding—even with a quality deglosser and surface prep. You’ll want consistent indoor temps between 50-85°F.
If you’re dealing with oil-based stains, humidity becomes important. Moisture can trigger tannin bleed right through your finish. That’s when a stain-blocking primer becomes non-negotiable, not optional.
Your bonding primer performs better in stable conditions too. Painting during naturally dry seasons produces superior results compared to rushing through winter humidity.
Don’t skip surface prep for convenience. Proper deglosser application and environmental awareness together determine whether you’ll succeed skipping primer or regret it later.
How Long Will No-Primer Paint Last on Interior Stained Wood?

How long you’ll get out of no-primer paint on stained wood depends almost entirely on what you do before you apply that first coat of color.
I’ve found that proper preparation extends longevity. Here’s what matters most:
- Thorough cleaning and deglossing of the stained surface
- Using a bonding primer to block tannin bleed-through
- Applying quality latex or acrylic enamel topcoats
Without these steps, you’re looking at maybe 3-5 years before adhesion fails. With them, no-primer paint can last about a decade on interior stained wood. The reality is this: it’s not really about skipping primer—it’s about understanding that surface preparation determines everything. Oil-based stains require extra attention; water-based ones are more forgiving. Either way, invest upfront in adhesion, and your finish stays put.
When to Abandon the No-Primer Approach and Prime Anyway

When should you actually use primer instead of skipping it? Certain situations demand it, even when you’re tempted to skip that step.
Glossy finishes like polyurethane or lacquer won’t accept paint without primer—adhesion fails otherwise. Similarly, if you’re seeing bleed-through from stains or tannin migration (especially on cedar, redwood, or pine), a stain-blocking primer seals the problem before it ruins your topcoat.
High-traffic surfaces—stairs, cabinet doors, floors—need priming for durability. Damaged or flaky wood also benefits; primer creates a uniform foundation that helps paint last longer.
Primer is insurance against failure. Yes, it’s an extra step, but it prevents problems later.


