
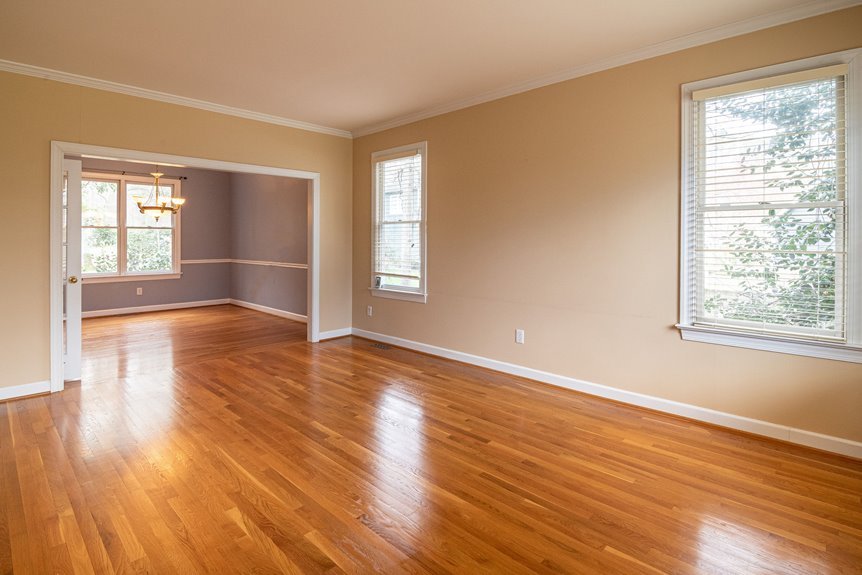
To refresh your wood floor’s color, start by evaluating whether it’s salvageable—surface scratches work, but deep damage needs replacing.
Sand down to bare wood using a drum sander, then hand-orbit tight corners.
Pick your stain color by comparing samples under natural light, apply one to two coats evenly, and seal with polyurethane for protection.
Finally, wait for full cure—this prevents marks. Each step matters for results.
Step 1: Decide If Your Floor Can Be Recolored

How do you know if your wood floors are actually ready for a color change?
Before changing your wood floor’s color, assess its condition—surface scratches are fixable, but deep damage may require replacement.
I’ve found that assessing your floor’s condition comes first. If your hardwood shows severe wear or deep damage, sanding might not hold up durably—replacement could be your better option. But if your floor’s fundamentally sound, you’re in luck.
Check these key indicators:
- Surface scratches and minor wear suggest sanding is viable
- Deep gouges or structural issues signal replacement needs
- Original finish still intact means sanding access is possible
Here’s the thing: sanding down to bare wood typically exposes your color-change options, revealing natural grain for a uniform base. Then staining follows with 1–2 coats, topped with a protective polyurethane topcoat. This approach gives you control and durability. Non-sanding alternatives exist, though results vary considerably.

【36 GRIT FIRST CUT FOR FLOORS】– Coarse 36-grit drum sander sandpaper designed for the opening pass in hardwood floor refinishing. Quickly removes old finish, paint, adhesive and high spots to level uneven boards and seams before moving to finer grits

High-Quality Sanding Belts: Includes 12 packs of 8 x 19 inch sanding belts, each with 80 grit, perfect for detailed woodworking and floor polishing tasks.

High-Quality Sanding Belts: Includes 12 packs of 8 x 19 inch sanding belts, each with 120 grit, perfect for detailed woodworking and floor polishing tasks.
Step 2: Sand Down to Bare Wood

Why does sanding matter so much? It’s the foundation of your entire color-change project. I’ll be honest—without proper sanding, your new stain won’t take evenly, and you’ll end up disappointed.
The Sanding Process
I use a drum sander to remove the topmost layer, revealing that beautiful light-colored hardwood underneath. This isn’t a job for amateurs; uneven sanding creates visible blotches that’ll haunt you later. For tight spots—stairs, corners, edges—I switch to a hand orbiter or scraper to reach those tricky areas.
After Initial Sanding
Once I’m done with the main sanding, I often screen the floor to smooth any scratches left behind. This extra step keeps your refinishing work looking professional.
The result? Bare wood ready for the next step.

9PC CORNER SANDER SET: Two sided pad fits right into corners for quick even sanding. Each side will sand out about 3 inches from center of corner

【POWERFUL PERFORMANCE】DEKOPRO 2.5A Orbital Sander is assembled with a powerful DEKO motor that can reach speeds of up to 14,000 RPM, allowing it to provide smooth performance in a variety of sanding applications.

[Precision Corner Sanding] Specially designed to effortlessly smooth inside corners and tight spaces where traditional sanders can't reach. Achieve professional-quality drywall finishing with minimal effort.
Step 3: Choose Your Stain Color and Apply

Selecting Your Stain Color
Visit your local home improvement store with floor samples. Hold different stain colors against your bare wood under natural light—what looks good indoors might differ from how it appears outside. Consider your home’s overall aesthetic. Do you want a warm honey tone or a sophisticated dark walnut?
Application Process
Once you’ve chosen your stain color, apply it using a brush or roller, working methodically to achieve even coverage across the entire floor. This prevents blotchy patches that’ll stand out later.
Building Your Color
Most floors need 1–2 coats for the final color you’re after. Between applications, allow proper cure time so each coat dries completely. This patience produces results that match a newly refinished floor.

Ideal for use on all interior wood projects: furniture, cabinets, doors, trim and paneling

POLYSHADES WOOD STAIN – Minwax PolyShades is an oil-based wood stain and poly in one. It enhances wood grain by combining beautiful, rich color and long-lasting polyurethane protection in one easy step.

Penetrating Wood Stain Formula: Brush-on wood stains absorb into scratched or worn areas to blend naturally with surrounding wood grain instead of masking damage with paint
Step 4: Seal to Lock in Your New Color

Once your stain has fully cured, it’s time to apply polyurethane—the protective sealant that locks in all that beautiful color you’ve worked to achieve.
This step is where your floor gains its durability and protective qualities. Here’s what to do:
- Apply 2–3 coats of polyurethane for maximum protection
- Allow adequate drying time between each coat (follow product instructions)
- Use a roller or brush for even application
- Expect slight color deepening as the sealant cures
- Avoid foot traffic until fully hardened
The polyurethane creates a waterproof barrier that guards against moisture and mold damage, extending your floor’s lifespan significantly. Patience matters here—rushing the drying time compromises durability. Once cured, you’ll have a resilient, glossy floor that performs well and lasts for years.

Protects indoor wood surfaces such as furniture, windows, cabinets, trim and more

PROTECT WOOD SURFACES – Minwax Polyurethane Wood Finish protects interior projects like woodwork, furniture, floors and cabinets. The oil-based, clear top coat is one of the most durable coatings for wood protection against scratches, spills and more.

TIGHT, WATERPROOF SEALS — Sika self-leveling sealant provides an ideal solution for cracks found in concrete pavement, driveways, walkways, terraces, decks, and other horizontal surfaces
Step 5: Wait for Full Cure Before Using Your Floor

How long you’ll actually wait before walking on your freshly sealed floor depends entirely on what the manufacturer recommends—and I can’t stress this enough, it’s worth following their guidance to the letter. Cure times vary dramatically based on your environment. Warmer, drier conditions speed things up, while humidity and cooler temperatures slow the process considerably, sometimes taking several days.
Check the data sheet before doing anything. I learned this the hard way—patience pays off. During the cure period, avoid dragging furniture across the finish. Those dark marks won’t disappear easily once the dry times are complete.
Plan strategically. Schedule your project when you can afford downtime. Once fully cured, your finish delivers maximum performance and protection.

KIT INCLUDES our most powerful wood repair compounds, so you can repair all levels of damage to wood furniture by yourself. Includes 12 touch up fillers, 8 touch up markers, 1 wood putty, 1 beewax, 2 brushes, 2 sandpaper, 1 sponge and 1 scraper
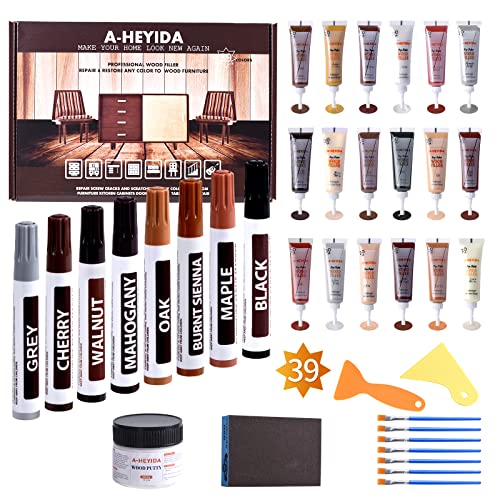
WOOD REPAIR KIT INCLUDES: Our wood floor scratch repair kit comes with 18 colors of wood fillers, 8 colors of furniture markers touch up, 7 brushes, 2 plastic scrapers, 1 wood putty, 1 sandpaper, 1 pair of glove and 1 color chart

Professional Laminate Floor Repair Kit: Our laminate repair kit for reinforced composite floors includes the tools you need to repair furniture that meets your requirements. It is suitable for repairing the most popular laminate floors, vinyl floors, and other wooden furniture.


