
Yes, you can use spackle on wood, but it’s best reserved for small nail holes on painted surfaces. Spackle dries fast and works fine there, but it shrinks over time and won’t take stain evenly on natural wood. For larger gaps, wood filler is your better option since it sands smooth and accepts stain like actual wood. The key? Apply thin layers, sand between coats, and prime before painting to avoid a visible patch.
Yes, But With Important Limitations

So can you use spackle on wood? Yes, but there’s a catch. I’ve learned that spackle works fine on painted wood when you’re aiming for a clean paint finish. It dries quickly and gets you closer to that polished look you want.
However, here’s where limitations kick in. If your wood’s getting stained or finished naturally, standard spackle becomes problematic. It won’t absorb stain evenly, leaving visible patches that ruin your vision. That’s why I now reach for a stainable filler instead—it blends beautifully with wood tones.
For painted wood projects, spackle delivers results. Just expect slight sinking and plan for touch-up coats. Prime the patched area for best adhesion, and you’ll achieve professional-looking outcomes that match your surrounding surfaces.

EFFORTLESS REPAIRS: Fill holes, cracks, and dents in one easy application, saving time and effort on your DIY projects

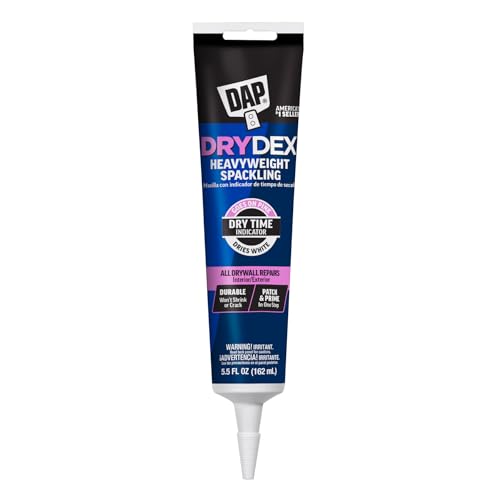
DryDex is a latex polymer spackle for repairing interior or exterior surfaces like drywall, plaster, wood, brick and stone

Fast Drying: The patch repair paste dries quickly for fast wall repair.
Small Holes and Nail Holes: Spackle Works Fine

When you’re dealing with nail holes and small imperfections on painted wood, spackle is an effective solution. Spackle works well here—it’s the go-to choice for quick wood repair on painted surfaces. The material dries fast, sometimes within minutes, which means you’re not waiting around for your project to progress.
What makes spackle practical for these smaller painted wood patches is its convenience. You apply it directly into the hole, let it cure, then wipe it smooth with a wet rag. No sanding necessary in most cases. This approach gets you paint-ready results without extra steps. For nail holes specifically, spackle fills the gap completely, creating an invisible repair once you’ve painted over it. It’s a reliable choice when you need straightforward fixes.

【Repair kit included】Our wood putty filler repair kit includes 1 wood putty (280g), 2 scrapers, 2 sandpapers.

STAINABLE WOOD FILLER – Minwax Indoor/Outdoor Wood Filler is a stainable and paintable latex formula specially formulated to accept all Minwax stains, including both oil and water-based wood stains.

STAINABLE WOOD FILLER – Minwax Indoor/Outdoor Wood Filler is a stainable and paintable latex formula specially formulated to accept all Minwax stains, including both oil and water-based wood stains.
Larger Gaps on Wood: Choose Wood Filler Instead

When you’re dealing with larger gaps or structural flaws in your wood—anything bigger than a nail hole—skip spackle and reach for wood filler instead, since spackle tends to sink, shrink, or show through on wood surfaces over time. Wood filler is specifically designed to sand smooth and take stain or finish just like the surrounding wood, making it the durable choice for repairs that last. If you’re planning to stain rather than paint, you’ll want a stainable wood filler, since regular spackle won’t accept stain the way wood does.

MAKES REPAIRS 3X FASTER than traditional vinyl spackling

FAST, EASY WALL REPAIR — Instantly fills nail holes, screw holes, cracks, and dents in drywall, plaster, or wood. Apply, wipe, and paint — no sanding or tools required.
Made in United States
Why Wood Filler Works Better
Why does wood filler outperform spackle on larger gaps? I’ve learned that wood filler penetrates and bonds with wood fibers, while spackle sits on the surface. This difference matters for wood repairs.
When tackling larger gaps, wood filler shrinks less and cracks minimally over time. Spackle, designed for drywall and plaster, doesn’t grip wood the same way. It will eventually fail.
Here’s what makes wood filler superior:
- Durability: It bonds deeply with wood, not just sitting on top
- Finish compatibility: You can match stain or paint finishes seamlessly
- Application: Multiple thin coats with sanding between layers build proper contour
Using wood filler requires patience, but the lasting results prove worthwhile for serious wood repairs.
Application Tips For Large Gaps
How do you actually fill those stubborn gaps without ending up with a sunken mess months later?
I’ve learned that multiple thin coats beat one thick application every time. Here’s what works:
The Layering Method
- Apply wood filler in thin coats, roughly 1/4 inch each
- Let each coat dry completely before sanding
- Sand between applications for smoothness
- Repeat until the gap’s flush with your wood surface
This patience pays off. Unlike spackle, which shrinks and sinks over time, wood filler holds its ground. I sand lightly between coats using medium-grit sandpaper—this creates better adhesion for the next layer.
The result? A stable finish that won’t disappoint you later. You’re building something durable, not just filling a hole temporarily.
Spackle vs. Wood Filler: Shrinkage, Drying Time, and Stainability

So you’ve got a gap in your wood trim, and you’re standing in the hardware store aisle wondering whether to grab spackle or wood filler—I’ve been there.
Here’s the real difference: spackle dries quickly but shrinks noticeably over time, especially on wood. You’ll likely need touch-ups later. Wood filler, though, stays put and accepts stain beautifully, giving you a flawless appearance.
If you’re painting, spackle works fine since shrinkage matters less underneath paint. But for stained wood? Wood filler wins every time. It bonds better with the grain and won’t leave you with visible gaps after a few months.
For larger holes or structural damage, wood filler’s superior durability makes it the smarter choice. You’re investing in longevity, not just a temporary solution.

Use on wood, cork, tile, resilient, and other hard surface floor coverings.

Gorilla tough: Gorilla Wood Filler is the go-to product for strong water resistant repairs on cracks, gouges and holes
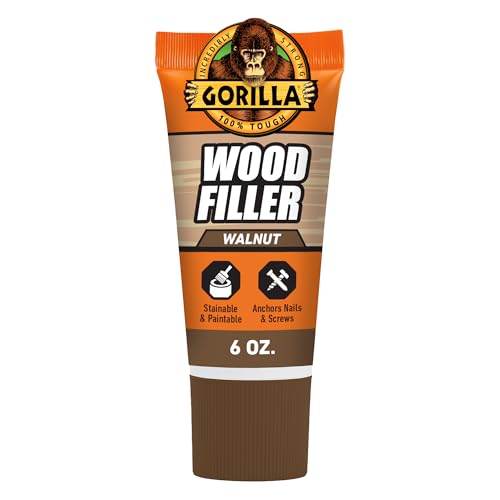
Gorilla tough: Gorilla Wood Filler is the go-to product for strong water resistant repairs on cracks, gouges and holes
How to Apply Spackle on Wood in Thin Layers

The key to making spackle work on wood comes down to one principle: restraint. I’ve learned that thin layers are your best friend in wood repair. Here’s how I approach spackle application:
- Load your putty knife lightly – use just enough spackle to cover the damaged area without excess
- Spread at a shallow angle – press gently into the wood, feathering edges outward
- Allow complete drying between coats, typically 1-3 hours depending on thickness
- Sand lightly after drying – this prevents cracking and sinking that ruins your finish
Multiple thin coats outperform one thick application. Each successive layer builds gradually, minimizing shrinkage and delivering better results. The smoother surface and stronger bond that patience provides will be evident in your final product.

TWO-PART FORMULA chemically bonds with surface to adhere permanently

QUICK, DURABLE REPAIRS to restore damaged, missing and dented wood

Gorilla All Purpose Wood Filler is the go-to product for strong, durable repairs on cracks, gouges and holes.
Why Spackle Doesn’t Take Stain (And What to Use Instead)

- Stainable wood filler: These products are formulated to accept stain evenly
- Wood putty: Accepts tinting and blends with stained finishes
- Primer before staining: Helps fillers accept color more uniformly
Test any filler on a hidden area first. Different products behave differently, and some still show slight color variations. Choose stainable wood filler when you want a natural, finished look.

Drywall repair kit can be used for repairing interior or exterior surfaces like drywall, plaster, wood, brick and stone

Durable spackle allows you to patch and prime in one step, completing projects quickly

❤️【3 Pcs Includes】This Putty Knife Set of 3 with variety of size from 1.5" 3" 6" inches,The putty knife is made of high-quality plastic raw materials, with uniform color and long-lasting use
Painting Over Spackle: The One Step You Can’t Skip

When you’re ready to paint over spackle on wood, there’s one step that separates a professional-looking finish from one you’ll regret: priming.
I’ve learned this the hard way. Here’s why priming matters:
- Adhesion matters – Prime creates a bonding layer so paint sticks properly to spackle
- Shrinkage prevention – Spackle settles as it dries; primer reduces visible sinking beneath your paint
- Feathering success – A primed surface helps edges blend seamlessly when you’re feathering the spackle outward
- Uniform coverage – Prime ensures your final paint color appears consistent across repaired and original wood areas
Without priming, you’ll watch your paint settle unevenly, highlighting every patch you worked hard to hide. This one step makes the difference between mediocre and solid results.

Paintable & Stainable: aididan White Wood Filler is paintable and stainable, It is easy to wipe away and seamlessly blends with all paint colors after drying, ensuring a flawless finish.

⚒️ HIGH QUALITY & MONEY SAVING: Save time and money with this wood filler that does not shrink, sink, or crack, and has excellent adhesion. Only need to apply once, and it flawlessly accepts any finish or stain! In fact, this product can be mixed with any pigment, tint, stain or dye.

DAP plastic wood filler looks and acts like real wood; ideal for corners and vertical surfaces on interior or exterior wood
Mistakes That Make Your Patch Obvious After Painting

Even after you’ve primed your patch, three common mistakes can still betray your repair work once the paint goes on. Skipping the sanding between coats, feathering edges unevenly with a short knife, or applying one thick layer instead of multiple thin ones—each one leaves telltale signs that catch the light and announce “patch here” to anyone looking at your wall. Let me walk you through why these missteps happen and how to avoid them.

Magic Drywall Repair Kit: Our new and improved White Drywall Crack Repair Kit has the superpower of restoring your broken surfaces on the wall. Repair every holes, chip, scratch, and dents on your pristine-white wall with our Spackling kit. Works on interior and outdoor surfaces, including walls, interior doors, cabinets, shutters, windows, paneling, indoor furniture, decor

All-in-One Repair Solution:BONCART Wall Mending Agent combines patching and priming in one step, eliminating multiple product purchases. Perfect for both DIY enthusiasts and contractors to save time on drywall repairs.
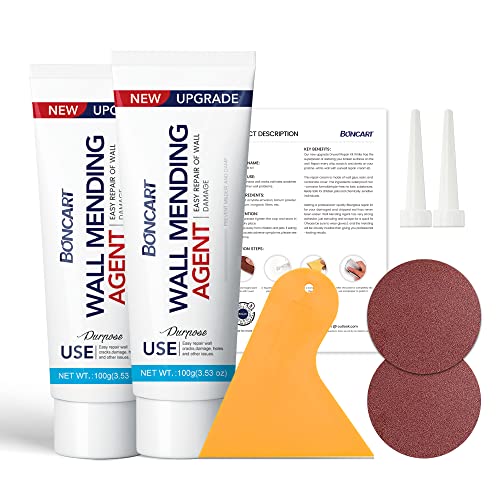
The drywall repair kit includes 2x Wall mending agent (100g), 2x Nozzle Extender, 1x Scrapers, and 2x Sandpaper.
Skipping Sanding Between Coats
Why do so many DIYers rush past the sanding step between spackle coats? I’ve learned the hard way that skipping this step undermines all your patching work.
When you skip sanding between applications, you’re inviting trouble:
- Visible ridges develop where coats meet, creating obvious lines across your wood surface
- Imperfections get locked in place, becoming permanent shadows under paint
- Poor adhesion occurs between layers, weakening your patch’s durability
- Feathering becomes impossible, so edges won’t blend smoothly with surrounding wood
Light sanding between coats creates smooth transitions that help your patch disappear. I use progressively larger knives—6 inches for the first coat, then 12 inches for final applications—while sanding lightly between each layer. This combination minimizes shrinkage and gets your patching work to vanish completely once paint is applied.
Feathering Edges Unevenly
You’ve sanded between coats and built up your patch layer by layer, but there’s still one mistake that’ll betray all that careful work: uneven feathering.
When you feather edges unevenly, light hits those patchy spots differently, exposing your repair like a neon sign. I’ve learned this the hard way—one thick edge catches light while another disappears, creating shadows that scream “patch here.”
Here’s what happens with poor feathering:
| Feathering Issue | What You’ll See | After Painting |
|---|---|---|
| Thick edges | Sharp lines | Visible shadows |
| Uneven transitions | Lumpy surface | Light reflection spots |
| Rushed blending | Obvious ridges | Halo effect around patch |
| Inconsistent pressure | Varied thickness | Paint shows imperfections |
Use a 12-inch knife for your final skim coat, applying even pressure throughout. This spreads compound smoothly across your wood patching project, creating smooth transitions that blend in once painted.
Applying Single Thick Layer
The temptation to finish faster by slapping on one thick coat of spackle is real—I’ve definitely been there, trowel in hand, thinking I’ll save time and effort. But here’s what I’ve learned: that single thick application creates problems that sabotage your paint-ready finish.
- Thick spackle shrinks unevenly, creating visible cracks and ridges
- Air pockets get trapped inside, leaving voids beneath the surface
- One coat rarely bonds properly to wood, risking adhesion failure
- Sanding between coats helps feather edges and minimize surface irregularities
Instead, I build up multiple thin layers, letting each dry completely. This approach requires more patience upfront but means fewer touch-ups later. Sanding between coats matters—it smooths imperfections and prevents your patch from being obviously visible after painting.


