
To paint cedar wood properly, I start by pressure washing at 1600 PSI maximum to avoid damaging the soft wood. Next, I scrape off all peeling paint down to solid wood, then sand and patch any damaged spots with wood filler. Here’s the important part: I prime all bare cedar with oil-based primer to prevent tannin bleed-through—a mistake I’ve made before. Finally, I apply two coats of quality exterior paint, letting each dry completely. These steps provide lasting coverage that won’t peel within a year or two.
Pressure Wash the Cedar Siding

How do you get cedar siding truly clean before painting? Proper pressure washing is essential prep work that makes everything afterward easier.
I use a lower-pressure washer—about 1600 PSI maximum—because cedar’s softer wood can’t handle aggressive force. A flat stream nozzle covers large areas without concentrating damaging pressure on one spot.
My process:
- Mask windows and trim with painter’s tape or plastic sheeting first
- Start at the top, working downward so dirty water doesn’t flow onto cleaned sections
- Avoid soffit vents; water intrusion there causes real problems
This methodical approach removes dirt and grime without harming the cedar. Taking time during this prep work makes the painting stage smoother and the final results noticeably better.

[1600 PSI @ 1.2 GPM] - Great for light-duty, residential cleaning. Clean cars, trucks, motorcycles, boats, RVs, outdoor patio furniture, windows, decks, etc

【5000 PSI Adjustable Electric Pressure Washer】This heavy-duty electric power washers electric powered, 2.5-3.9 GPM flow rate, adjust pressure from 2500-5000 PSI via twist-button – start low to prevent surface damage. Pro-Grade Performance for tough jobs like oil-stained driveways, mossy decks, and grimy vehicles. Eco-friendly electric motor eliminates fumes/noise while outperforming gas models on concrete, siding, RVs, and outdoor gear.

Delivers 2500 max PSI and 1.76 max GPM (at lowest pressure), and 2000 rated PSI and 1.2 rated GPM of water flow; Pro-style steel extendable 17.5” wand with quick-connect nozzles (0°, 15°, 25°, turbo and soap applicator)
Scrape Off Peeling Paint

Why’s old, flaking paint such a problem? It won’t hold new coatings properly, and moisture sneaks underneath, damaging your cedar. That’s why thorough surface preparation matters—it’s your foundation for a lasting finish.
| Tool | Best For | Blade Width |
|---|---|---|
| Painter’s Multitool | Detailed edges | 2-3 inches |
| Stiff Scraper | General removal | 3-4 inches |
| Carbide Scraper | Stubborn paint | 4-6 inches |
Your scraping approach:
Work top to bottom in sections, removing all peeling paint down to solid wood. Use a ladder for safety on higher areas. After scraping, sand ridges smooth—this improves adhesion significantly. For severely damaged spots, apply exterior spackling before sanding. You’re creating that clean canvas where primer and topcoat can bond properly.

Get ultimate hiding power indoors and out with Zinsser Cover Stain Primer

Do it Best Exterior Oil-Based Wood Primer, EXT ALKYD WOOD PRIMER
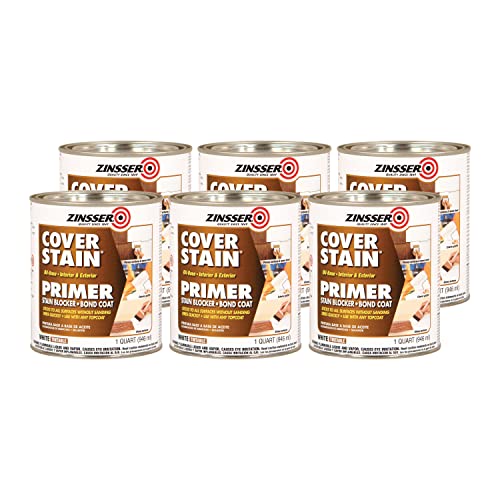
High-hiding formula blocks most stains and helps seal water, smoke and nicotine stains
Sand and Patch Any Damaged Spots

Once you’ve scraped away the loose paint, it’s time to address what’s underneath—any soft spots, gouges, or rough patches that’ll sabotage your finish if you leave them alone.
Scrape away loose paint, then address soft spots and gouges underneath—they’ll sabotage your finish if ignored.
Patching Cedar Wood
I fill damaged areas with wood filler, smoothing it level with the surrounding surface. If patches feel soft or rotten, I replace those sections entirely to keep the cedar structurally sound.
Sanding for Success
Using a sanding block or pole sander, I feather edges around patched areas, blending them without interruption with the wood. After sanding, I inspect for raised grain and re-sand with finer grit if needed. A tack cloth removes all dust before priming—necessary for paint adhesion. This preparation creates the smooth, level surface your cedar needs for even, professional-looking results.

Gorilla tough: Gorilla Wood Filler is the go-to product for strong water resistant repairs on cracks, gouges and holes
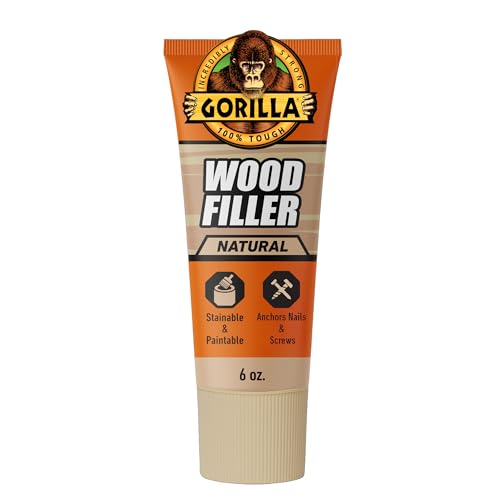
Gorilla tough: Gorilla Wood Filler is the go-to product for strong water resistant repairs on cracks, gouges and holes
![VAN VOTZ Waterproof Wood Filler [Half-Pint, Cedar] - Exterior Grade Wood Repair in 18 Paintable and Stainable Colors. Strong Adhesion and Durability for Outdoor Wood in All Weather Conditions.](https://m.media-amazon.com/images/I/51SxCNlajKL._SL500_.jpg)
MADE FOR OUTDOORS: Resists snow, sun, rain and humidity with advanced formulation developed for performance in the most extreme outdoor conditions.
Prime Bare Wood With Oil-Based Primer

Bare cedar’s got natural tannins—those reddish compounds that’ll bleed right through latex paint and ruin your finish if you skip this step. I’ve learned this the hard way. That’s why I reach for an oil-based primer like Zinsser Cover Stain every time.
Why Oil-Based Works Best
Oil-based primer seals those tannins effectively, preventing tannin bleed on your cedar siding. You’ll need mineral spirits for cleanup afterward, but the protection’s worth it.
Application Tips
Apply primer to all exposed sides—not just front surfaces. Use a cheap angled brush and build thin coats, letting each layer accumulate. This thorough coverage prevents paint failure and extends the life of your finish. A two-coat system sets the foundation for quality results.

ADJUSTABLE CLAMP FOR BROADER COMPATIBILITY Unlike fixed-size mounting solutions, the adjustable steel clamp helps provide a secure fit across a wide range of orbital sanders. Easy to install and remove without drilling, cutting, or permanent modifications.
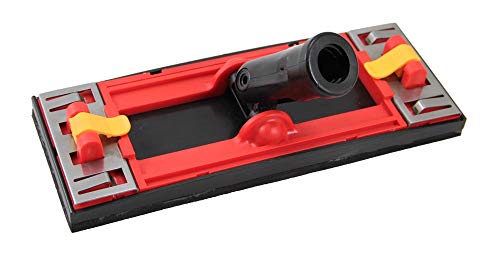
Lightweight Pole Sander, Plastic, Head Only, Female Threaded, 8/Cut Carton

🏠【More Sandpaper Sheets for Better Value】:Our set includes 60, 80, 180, 240, and 320 grit self-adhesive hook-and-loop red sandpaper, with 3 sheets per grit, totaling 15 sheets. We provide more sandpaper to meet a wider range of sanding needs.
Paint Your Siding in Two Coats

With your primer locked in place and those tannins sealed, you’re ready for the paint that’ll actually show.
I recommend applying two coats of high-quality exterior paint to your cedar siding for lasting coverage. Spray your siding first, then use a brush or roller on trim and edges—this keeps everything looking clean and professional. Let the first coat dry completely before applying the second; rushing this step invites peeling later.
Timing matters tremendously. Avoid painting in direct sun or extreme heat, which causes rapid skinning and uneven application. Choose a flatter sheen if your cedar has imperfections—it’ll hide them better than glossy finishes. Two coats with proper drying time between applications protects your exterior primer’s work and gives you durability that’ll protect your investment for years.

Set consists of 6 pieces - individually wrapped and generously sized painters tack cloths, each piece is 18 x 36 inches, made of premium yellow / gold cotton cheesecloth.

8 pcs Tack Cloths: Package includes 8 pcs individually packaged tack cloths, each measuring 45 X 90 cm/17.7 x 35.4 in, our tack rags are a good choice for removing dust
Bumper pack of 15 tack rags for the professional - individually wrapped and generously sized painters tack cloths for removing dust from woodworking, each piece is 18 x 36 inches, made of premium yellow / gold cotton cheesecloth.


