
To stain cedar, wait 4–8 weeks after installation, then clean with mild soap and low-pressure water. Let it dry completely—you’ll know it’s ready when water beads rather than soaks into the surface.
Choose oil-based stain for deeper, longer-lasting color (3–5 years) or water-based for quick cleanup. Apply the first coat top-to-bottom with a brush in one direction, then add a second coat after 24–48 hours for even coverage and UV protection.
Regular cleaning and moisture checks keep your cedar looking fresh for years ahead.
Why Staining Cedar Protects Wood and Extends Its Life

Why does cedar need staining when it’s already an inherently durable wood? I’ve learned that cedar’s natural oils alone won’t shield it from everything nature throws at it. UV rays gradually fade the wood’s color, while moisture seeps in, causing cracking and warping—problems I’ve seen firsthand on neglected fences.
When I apply stain to cedar, I’m creating a protective barrier. Staining cedar substantially improves moisture resistance, keeping water from penetrating deep into the wood fibers. This simple step prevents the weathering that’d otherwise age my structure prematurely.
The right stain—transparent, semi-transparent, or opaque—determines how often I’ll need to maintain it. Regular staining keeps the grain visible while boosting durability. I’ve found that this investment pays dividends, extending my cedar’s lifespan considerably.
NO LAPS, RUNS OR STREAKS: Goof Proof formula with no back brushing required; ideal for exterior wood projects

NO LAPS, RUNS OR STREAKS: Goof Proof formula with no back brushing required; ideal for exterior wood projects
NO LAPS, RUNS OR STREAKS: Goof Proof formula with no back brushing required; ideal for exterior wood projects
Best Timing: When (and When Not) to Stain Cedar

As tempting as it is to stain brand-new cedar right away, I’ve learned through trial and error that patience pays off—you’ll want to wait 4 to 8 weeks after installation before applying stain. This waiting period lets the wood dry completely, preventing moisture entrapment that can cause mold or adhesion problems.
Test Before You Stain
I use a simple water bead test: I sprinkle water on the surface. If droplets bead up, the wood isn’t ready. When water soaks right in, you’re good to go.
Avoid These Conditions
Skip staining if the cedar looks gray or feels damp. Never stain in direct sun or during peak heat—the rapid drying causes uneven color and bubbling. Instead, work in shade during cooler hours for better penetration and quality results.

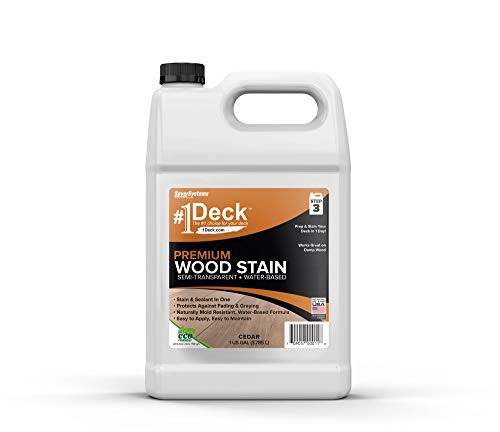
Ready mix, ready to use semi-transparent wood stain and sealant all-in-one
PREMIUM, EXTERIOR WOOD STAINS, MADE IN THE USA - General Finishes Exterior 450 Stains are specifically designed for outdoor projects with vertical surfaces such as fences, patio furniture, garage doors, entrance doors, outdoor kitchens, and interior windows. These stains are not recommended for large horizontal surfaces such as a deck.
SEMI TRANSPARENT EXTERIOR WOOD STAIN: Our outdoor wood stain and sealer allows the natural wood grain to show through, highlighting the beauty of your decks, fences and sidings and preserving its natural look.
Know Your Cedar’s Current Condition Before You Stain

Check Your Cedar’s Seasoning
I always start by determining whether my cedar is seasoned or green. Seasoned cedar is kiln-dried with moisture content below 15%—this matters because properly dried wood absorbs stain evenly. Green wood won’t cooperate, and you’ll end up with blotchy results.
Assess the Current Condition
Next, I examine surface defects. Cracks, splits, or rough patches need addressing before staining takes hold. I also check for existing finishes—old sealant means I’m either stripping or finding a compatible overcoat.
Test the Moisture
Using a moisture meter or water-bead test reveals readiness. Beads that sit on top mean it’s too wet. Water soaking in suggests I’m ready to proceed.

WATERPROOFING STAIN – Bring out the beauty of your outdoor wood with Thompson’s WaterSeal Transparent Waterproofing Wood Stain. Along with adding smooth color, it’s a deck sealer that prevents water damage to help you maintain your outdoor living spaces.

Ready mix, ready to use transparent deck stain with sealer with approximately 250 - 350 sq. ft. of coverage per gallon

PROTECT WOOD - Cabot Wood Toned Stain + Sealer is specially formulated with a unique blend of resin and oil to provide a superior natural finish for bare wood. It’s a wood protector against the sun and weather elements.
Which Stain Type Should You Choose?

Now that you’ve assessed your cedar’s condition, you’ll want to pick a stain type that matches both how you want your wood to look and how much protection you need. I’ll break down the main options—transparent, semi-transparent, and opaque finishes—so you can understand what each one does for your cedar and how long that protection actually lasts. The stain you choose will determine everything from how often you’ll need to reapply it to whether your cedar grain stays visible or gets covered up completely.

WATERPROOFING STAIN – Bring out the beauty of your outdoor wood with Thompson’s WaterSeal Semi-Transparent Waterproofing Wood Stain. Along with adding lightly tinted color, it’s a deck sealer that prevents water damage to help you maintain your outdoor living spaces.

Weather-ready wood stain application allows you to clean and stain on the same day in temperatures down to 35°F, and is ready for rain in 2 hours

Our best lifetime wood stain results, guaranteed
Transparent vs. Opaque Options
When you’re standing in front of cedar wood that needs protection, you’ve got to decide: do you want folks to see the beautiful grain underneath, or would you rather cover the wood with bold, solid color?
Transparent and semi-transparent stains let the wood’s natural character remain visible while offering solid UV and moisture protection. They’re ideal if you love cedar’s distinctive look. However, they need multiple coats and more frequent maintenance.
Opaque stains, meanwhile, deliver:
- Longer-lasting color that hides imperfections
- Fewer maintenance cycles over time
- Bold coverage that masks the grain entirely
Choose transparent if you’re committed to showcasing cedar’s beauty. Pick opaque when longevity and durability matter most to you.
Durability and Protection Levels
So the point is: the stain you choose determines how long your cedar will actually stay protected before you’re back out there with a brush in hand.
Surface stains create a barrier lasting roughly three years, while penetrating oils soak deeper but need reapplication sooner. Semi-transparent stains offer a practical middle ground—they balance visibility of your wood’s natural character with solid UV and moisture resistance. You’ll get water-repellent features that keep rain from settling into the grain, plus easier maintenance between coats.
For maximum protection stretching years longer, solid stains shield weathered boards completely. The trade-off? You’re covering that gorgeous cedar color. Match your choice to your wood’s condition: clear for beauty, semi-transparent for versatility, opaque for longevity. Plan your reapplication schedule accordingly, and you’re set.
Oil-Based vs. Water-Based: Which Stain Lasts Longer?

I’ve found that comparing these two options helps you make the right choice for your project:
- Oil-based stains penetrate deeper into cedar’s grain, lasting substantially longer against UV rays and moisture—often 3-5 years before needing reapplication
- Water-based stains cure faster and clean up easily, though they typically require touch-ups every 2-3 years on exposed surfaces
- Newer water-based formulas now include enhanced UV blockers, narrowing the durability gap considerably
The trade-off is real: oil-based delivers superior protection and richer color retention, while water-based offers convenience and lower VOCs. For maximum longevity, many professionals recommend oil-based stains paired with thorough surface preparation.
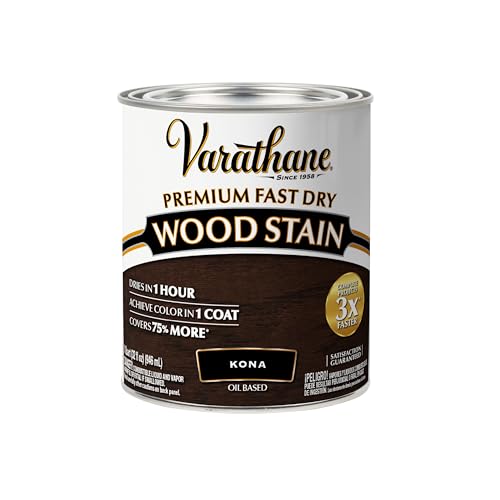
Ideal for use on all interior wood projects: furniture, cabinets, doors, trim and paneling
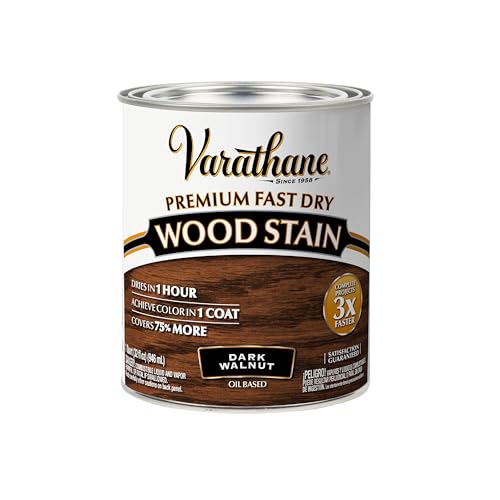
Ideal for use on all interior wood projects: furniture, cabinets, doors, trim and paneling

Ready mix, ready to use semi-transparent wood stain and sealant all-in-one
Prepare Your Cedar Surface: Cleaning, Sanding, and Drying

Before you even think about opening that stain can, a clean cedar surface is absolutely necessary—you’ll want to wash away dirt, mildew, and any old stain that’s clinging to the wood. After cleaning, you’ll need patience; let your cedar dry completely, which typically takes anywhere from a few hours to overnight depending on humidity and temperature. Once it’s dry, you’re ready to move forward knowing that proper drying time prevents the stain from sitting on wet wood and failing to absorb correctly.

PENETRATING OIL-BASED WOOD STAIN – Advanced conditioning oils penetrate deep into wood fibers while drying oils lock in protection, helping prevent cracking, peeling, and premature wood deterioration.
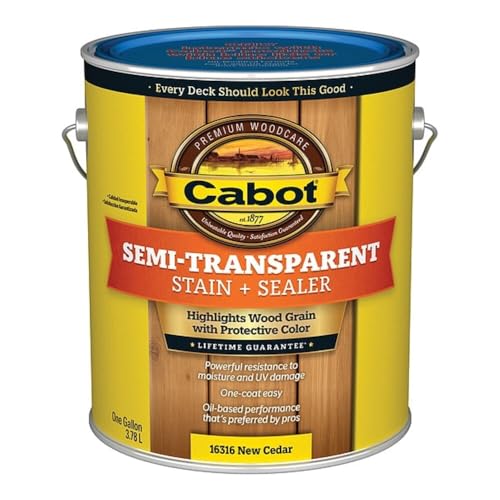
OIL-BASED WOOD STAIN - Cabot Semi-Transparent Stain + Wood Sealer is formulated to provide long lasting beauty and wood protection. The wood sealant highlights the grain of your wood with protective color.

BRING OUT THE NATURAL WOOD GRAIN: Transparent outdoor wood stain uses ultra-fine pigments to highlight the rich texture and character of exterior wood surfaces; ideal for cedar, redwood, pine and other fence woods
Washing and Dirt Removal
Why does cedar look so dull and patchy sometimes? Dirt, mildew, and old finishes accumulate on the surface, preventing stain from absorbing evenly. Washing your cedar properly before you apply stain is an important step.
Here’s what I do:
- Use low-pressure washing or mild detergent to gently remove buildup without damaging the wood grain
- Scrub away visible mildew and dirt that’s settled into the wood’s texture
- Rinse thoroughly until all soap residue disappears completely
After washing, I let the cedar dry for several hours—sometimes overnight—so no moisture remains. This patience pays off. I check that the wood shows no visible dampness before proceeding. Proper drying allows your stain to adhere correctly, giving you an even finish.
Drying Time Requirements
How long you wait after washing affects how well your stain adheres. Rushing the process leads to disappointing results.
Allow adequate drying time between washing and staining. Give your cedar a few hours to overnight before applying stain. For untreated wood, wait a full 24–48 hours. This extended drying time allows deeper penetration and better coverage.
Weather matters more than you’d think. Shade actually helps—it slows evaporation, allowing moisture to escape gradually rather than too quickly. Humid or cloudy days naturally extend drying time.
Before your second coat, confirm your cedar is completely dry and free of moisture. This prevents bubbling and poor adhesion, protecting your investment in well-stained wood.
Apply Your First Coat With Proper Technique and Tools

Once you’ve prepped your cedar and gathered your supplies, the application process begins—and getting it right is important.
I grab my natural bristle brush and load it with stain, making sure it’s thick enough for deep color penetration without becoming overloaded. Here’s what I focus on:
- Starting position: I begin at the top of each board and work downward, preventing drips and sagging that’ll ruin the finish.
- Directional strokes: I apply stain in one direction only, avoiding back-and-forth motions that create streaks.
- Timing: I let the stain dry completely before considering a second coat for fuller coverage and UV protection.
This methodical approach produces even, professional results on cedar’s light tone.

WOOD STAIN & SEALER IN ONE: DWIL Outdoor Wood Stain combines staining and sealing in one product. It penetrates deeply into the wood to nourish and protect it from the inside, while adding beautiful color. At the same time, it forms a protective seal on the surface to increase durability and help resist everyday wear and tear.

All-in-one protection and color – Combines premium wood stain and durable sealant for easy application, offering a rich palette of colors while shielding against UV rays, moisture, and weathering

Weather-ready wood stain application allows you to clean and stain on the same day in temperatures down to 35°F, and is ready for rain in 2 hours
Apply a Second Coat for Full Coverage and Protection

A second coat of stain is where your cedar project comes together. This layer addresses uneven patches and creates a cohesive, professional finish while boosting UV protection that keeps your wood beautiful longer.
| Stain Type | Wait Time | Application Method | Result |
|---|---|---|---|
| Water-based | 4–8 hours | Brush or roller | Quick drying, minimal odor |
| Oil-based | 24–48 hours | Light misting spray | Deeper penetration, richer color |
| Gel stain | 6–12 hours | Applicator pad | Uniform coverage, no drips |
| Hybrid | 12–16 hours | Brush preferred | Balanced protection and ease |
When applying your second coat, mist lightly with a sprayer to prevent running. For porous cedar especially, this second stain coat eliminates blotchiness and creates that uniform color you’re after. Afterward, inspect carefully—touch up any stubborn high-contrast spots for lasting durability.

Deck Stain and Sealer in One - Combines stain and sealer benefits for comprehensive protection and enhanced natural beauty in a single product. Easy application for long-lasting results.
Wood Stain and Sealer in One - This product works as a wood stain and water sealer for wood - it simultaneously adds color and protects your outdoor wood surfaces for years to come.
Keep Stained Cedar Protected Through Regular Maintenance

Once you’ve applied that second coat and let your cedar dry completely, staying ahead of maintenance is what really keeps your stain looking fresh and protective. You’ll want to establish a yearly cleaning routine and keep an eye on when re-staining becomes necessary, since these two practices work together to defend your wood against UV damage and moisture. The good news is that a little attention now prevents the bigger headache of letting your cedar deteriorate later.
Annual Cleaning and Inspection
How’s your cedar fence or siding holding up after months of sun, rain, and weather exposure? Annual cleaning and inspection protect your investment.
Here’s what I do each year:
- Remove dirt and mildew with a gentle brush and mild soap solution to keep the wood fresh
- Inspect for damage by looking closely at seams, corners, and joints where moisture collects
- Check stain performance to see if the finish still repels water effectively
When I stain cedar annually through this cleaning routine, I’m extending the life of both the wood and the protective coating. Thorough drying—allowing hours to a couple days—prevents moisture from getting trapped underneath. This maintenance regimen keeps my cedar looking vibrant and protected for years to come.
Reapplication Schedule and Timing
Your annual cleaning routine keeps that cedar looking fresh, but here’s the thing—cleaning alone won’t stop the stain from gradually wearing away. You’ll need a solid reapplication schedule to keep that protective barrier intact.
When to Reapply
For semi-transparent stains, I recommend restaining every 2–3 years. Opaque finishes last longer—typically 3–5 years—depending on sun exposure and how hard your cedar works. The water bead test helps me decide: if water beads up, you’re good. When it soaks in easily, it’s time to stain the cedar again.
Before You Begin
Wait 24–48 hours after your last coat fully dries (longer for oil-based products). Check for peeling or fading. If the stain’s failing, sand rough areas first. A clean, dry surface keeps your reapplication schedule on track and your cedar stays protected year after year.
Common Staining Mistakes That Compromise Durability

Why do some cedar stain jobs look beautiful for a few months, then start peeling or developing dark spots? I’ve learned the hard way that shortcuts during staining create durability problems you’ll regret.
Here’s what I’ve discovered undermines cedar protection:
- Staining wet wood – Moisture gets trapped beneath the stain, causing peeling and mold. I always use the water test: beads mean wait longer; soaking means you’re ready.
- Skipping prep work – Skipping thorough cleaning prevents proper bonding, leaving uneven color and weak protection against moisture damage.
- Applying too thickly – Thick applications create blotchy finishes and longer drying times, reducing UV defense. I apply thin coats instead.
Staining without proper technique compromises everything you’ve invested. Weather matters too—avoid high humidity, direct sun, and unfavorable conditions that hinder curing.

Weather-Ready wood stain application allows you to stain in temperatures down to 35°F, and is ready for rain in 2 hours

WATERPROOFING WOOD STAIN: KILZ Waterproofing Wood Stain is a semi-transparent exterior stain that offers long-lasting UV protection and waterproofing that helps maintain the integrity and beauty of wood in variable outdoor conditions.
Ideal for use on all interior wood projects: furniture, cabinets, doors, trim and paneling


