
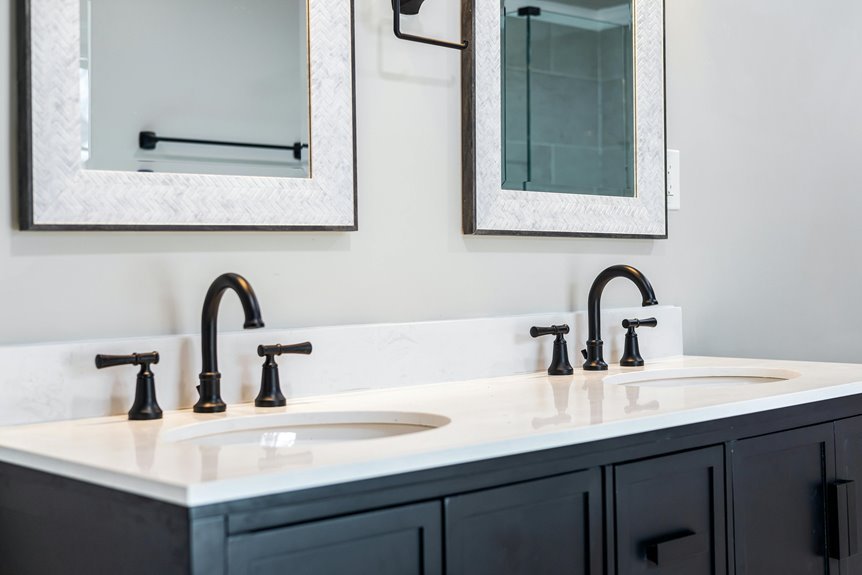
Replacing your bathroom sink saves hundreds in labor costs and takes just a few hours if you’re comfortable with basic plumbing. You’ll shut off water, remove the old sink, measure your space, attach the faucet, position and secure the new one, reconnect plumbing, then test for leaks and seal edges. It’s manageable for straightforward drop-in replacements with accessible plumbing connections. However, undermount sinks or major relocations warrant calling a pro. The details ahead reveal exactly how each step unfolds.
Is Sink Replacement a DIY Project? When to Call a Pro

Can you handle replacing your bathroom sink yourself, or should you hire someone?
It depends on what you’re actually doing. Straightforward replacements in small bathrooms are manageable. But undermount sinks or major plumbing relocations require professional help.
DIY works best when:
- You’re replacing a standard drop-in sink
- Existing plumbing connections are accessible
- You have basic tools and materials
Call a pro if you notice:
- Misaligned pipes after installation
- Water damage or rotted subfloors
- Corroded shut-off valves
- You’re uncertain about water supply lines
Installing your faucet and drain assembly yourself takes 4–5 hours, though improper torquing creates leaks. You’ll save $230–$650 in labor, but mistakes mean costly water damage. Weigh that risk carefully before starting.

This vanity bathroom sink has a rectangular basin
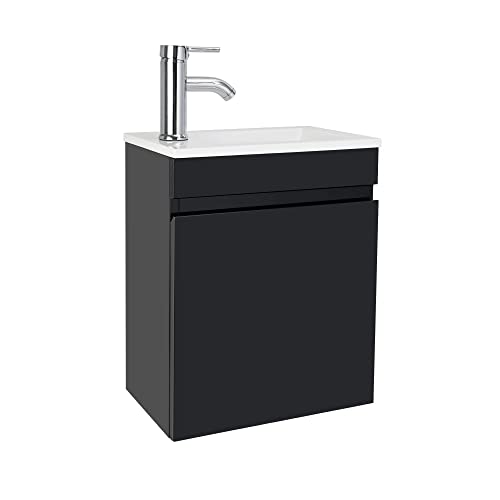
MINIMALIST DESIGN - Simple and modern AHB bathroom vanity is composed of shiny cabinet body and resin basin. It is not only suitable for most bathroom styles, and also for Hall or other room which for hand washing; the small size is for max. space saving.
Shut Off Water Before Replacing Your Sink

Before you touch anything else, I need to walk you through the most important step: shutting off your water supply. You’ll want to locate those shutoff valves under your sink (they’re usually small knobs or levers on the pipes), then turn them clockwise until they stop—this prevents water from gushing everywhere when you disconnect things. After that, open your faucet to release any pressure and drain the leftover water from the lines into a bucket.

EZ CHANGE WRENCH: Multifunctional plumbing tool is ideal for under-sink faucet installation and removal and compatible with common faucets, shut-off valves, supply lines, and basket strainers

【MULTI-FUNCTION SINK WRENCH】Applicable to 95% of the faucet nut, a sink wrench to solve the troubles of toilets, kitchens, and under sink wrench faucet joints removal and installation.Suitable for supply nuts, shut off valves, strainer baskets, supply line nut, faucet nuts.
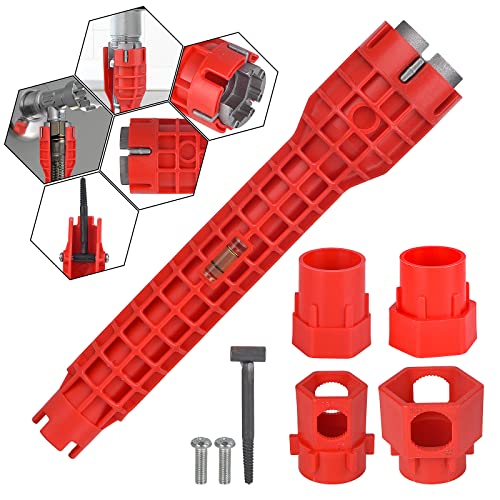
MULTI-FUNCTIONAL SINK INSTALLATION TOOL - 14 in 1 sink wrench is used for the installation of pipes under bathrooms, toilets, kitchens, and sinks. Faucet installer most suitable for supply nuts, shut off valves, strainer baskets, supply line nut, faucet nuts. It is easy to operate and friendly to non-professionals
Locate Your Water Shutoff
Locate Your Water Shutoff
Where’s the first thing you should tackle before touching that sink? Finding your water shutoff valves. Look under your sink—you’ll spot a hot and cold pair of shutoff valves connected to the water supply. They’re usually oval knobs or levers positioned where pipes enter the wall.
Can’t find them under there? Check your home’s main shutoff, typically in the basement or utility closet.
Turn each valve clockwise until it stops. Now test your faucet—if water still flows, keep turning. Grab your bucket and towels; residual water will drip when you disconnect things.
Label your valve positions with tape so you’ll remember exactly where they are next time. This small step prevents panic later and keeps your workspace dry and ready.
Turn Off Supply Valves
Now that you’ve located those valves, it’s time to actually use them. Follow these steps to shut off your water supply safely.
Close Both Valves
Turn the valves clockwise until they’re completely closed. You’ll feel resistance—that’s your signal to stop. Don’t force them; gentle pressure works best.
Drain Remaining Water
Open your faucet handles to release leftover water in the lines. This prevents messy surprises during disconnect and removal. Have a bucket handy to catch any drips.
Verify the Shutdown
Try running water from the faucet. No flow means you’ve succeeded. Wear safety gloves while handling connections, then grab a towel for spill management.
Label valve positions for reassembly so you’ll remember which controls your water supply when you’re finished.
Drain Remaining Water Lines
Why does water still drip from your pipes even after you’ve shut off the valves? Trapped water lingers in the system, waiting to spill everywhere. Here’s how to prevent that mess.
Turn on your faucet and let it run for about 30 seconds. This drains residual water from the lines, reducing surprise leaks when you disconnect lines.
Gather your supplies: Place a bucket or towels directly under the P-trap area. You’ll be prepared when water inevitably spills.
Use an adjustable wrench to loosen the supply lines slowly. Keep the bucket positioned to catch drips. Once lines are free, label each one with tape—this simplifies reattachment to your new sink later.
Taking these steps results in a cleaner, more organized replacement process.
Remove the Old Sink

Before you can install your new sink, you’ll need to remove the old one—and this part involves water and caution.
First, shut off water at both valves and drain lines completely. Next, disconnect the P-trap from the drain and loosen drainpipes, positioning a bucket underneath to catch residual water. Using a wrench, detach supply lines from the valves carefully.
Then comes the caulk seal removal. Scrape around the sink’s edges with a utility knife, working patiently to break the bond. Finally, unfasten vanity screws or clips securing everything to the wall, then gently lift the sink free from the countertop opening.
After clearing debris, inspect cutout edges for damage or rot requiring repair before proceeding.

100% Silicone Caulk Protection: This silicone caulk clear provides ultimate waterproof protection, ensuring a reliable seal against water damage. Ideal for areas with consistent exposure, keeping your surfaces safeguarded and pristine under any weather condition.

100% Silicone Caulk Protection: This silicone caulk white provides ultimate waterproof protection, ensuring a reliable seal against water damage. Ideal for areas with consistent exposure, keeping your surfaces safeguarded and pristine under any weather condition.

Kitchen & Bath Ready – Premium clear silicone caulk formulated for kitchens and bathrooms, delivering a durable, long-lasting seal in wet, humid environments
Measure Your Space to Fit the New Sink
Measure Your Space to Fit the New Sink
Getting the measurements right is what separates a smooth installation from a frustrating afternoon of returns and adjustments. I’ve learned this the hard way, so let me share what matters most.
Key measurements you’ll need:
- Vanity countertop width and depth to confirm your new sink fits properly
- Cutout dimensions compared against your sink’s rim or under-mount profile
- Faucet hole positions aligned with existing plumbing and valve placements
Before anything else, use a level on your countertop surface. An uneven base ruins even perfect sink fit. Check plumbing clearance underneath—your P-trap and supply lines need breathing room. Verify faucet alignment prevents costly rework. These steps keep your sink replacement on track, so you can move forward with confidence and readiness for installation.

High-quality material: The lock nut of the faucet is made of high-quality 304 stainless steel, which is reliable, durable and easy to install.
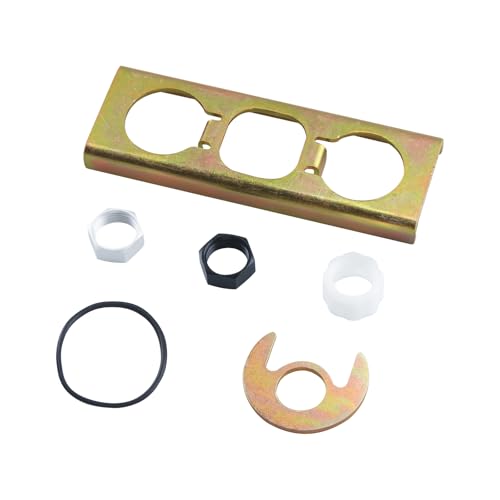
【Functional】Ktchen fauce kit 113173 effectively assists you in installing or repairing your kitchen faucet, restoring it to its proper functionality.

Faucet Mounting Kit --- Made of high grade stainless steel material, durable. install under the basin to secure the faucet, suitable for most kitchen faucet or bathroom sink leaking problems
Attach the Faucet, Then Position and Secure the New Sink
The faucet comes first—I know it seems backward, but follow this approach. Installing it before positioning the sink prevents misalignment problems later. I’ve learned this from experience.
Next, I move the vanity cabinet into its final spot and use a level to confirm it’s perfectly straight. If my floor’s uneven, I shim the base for stability. Then comes the silicone adhesive: I apply a continuous bead along the cabinet’s top edge before lowering the countertop down and pressing firmly.
Finally, I secure the sink with mounting clips, connect the drain and water lines, and verify everything’s level. Checking fit before finalizing connections saves me from frustrating rework.

The small and stylish Rectangular design requires very little installation space and is perfect for small bathrooms, garages, or Rv bathroom sink to save even more space It can also be used as a children's sink as it is a mini floating sink with free height adjustment.

Sink for Small Bathroom: Small and compact design, saving your space. Perfect for small bathroom, half bath, cloakroom, washroom, guest bath, and powder room

Premium Ceramic Material: High-temperature calcination process ensures scratch resistance
Reconnect Plumbing for Your New Sink
Reconnect Plumbing for Your New Sink
Now that your sink’s in place, it’s time to reconnect all the plumbing—the part that actually makes your sink work. I’ll guide you through reattaching everything so your sink functions properly without leaks.
Connect the Drain System First
Start by connecting your drain assembly to the sink tailpiece and wall drain pipe. Hand-tighten the slip nuts initially, then use channel-lock pliers for a final quarter-turn. This prevents over-tightening, which can crack fittings.
Next, reconnect your P-trap by aligning joints properly. Hand-tighten before creating a final seal.
Reattach Water Lines
- Attach hot and cold water supply lines to your faucet
- Connect lines to shut-off valves by hand first for proper alignment
- Snug connections with a wrench carefully
Test Everything
Turn on your main water supply slowly and open shut-off valves gradually. Run the faucet for one minute, checking all connections for drips. Fill your sink halfway, then drain it to confirm smooth water flow. Use a dry paper towel to inspect joints for any moisture—a sure sign of leaks.
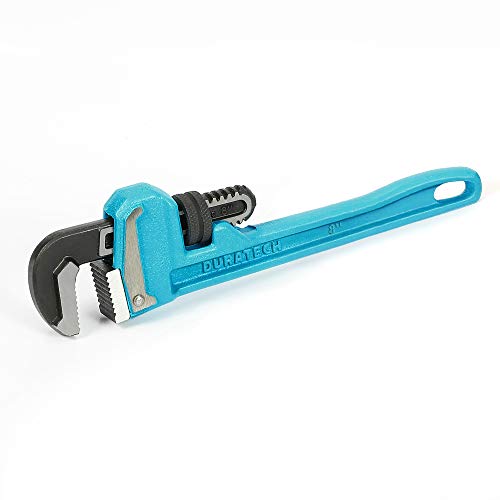
Heavy-duty pipe wrench with sturdy cast-iron body protects the tool from damage in harsh conditions. The 8-inch pipe wrench has slim profile wrench head that makes it easier for you to access tight spaces and overhead applications. The pipe capacity is 1/8"-1".
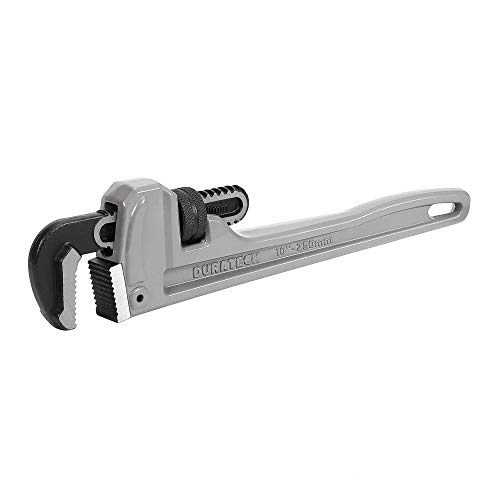
Nearly 40% lighter than steel models of the same size. The strength of a professional aluminum pipe wrench provides considerable durability and ease of use. The 10 inch slim profile wrench head makes it easier for you to access tight spaces and overhead applications

【MULTI-FUNCTION SINK WRENCH】Applicable to 95% of the faucet nut, a sink wrench to solve the troubles of toilets, kitchens, and under sink wrench faucet joints removal and installation.Suitable for supply nuts, shut off valves, strainer baskets, supply line nut, faucet nuts.
Test for Leaks and Seal Edges
Now I need to check those water connections carefully and seal everything up so my sink doesn’t leak down the road. I’ll run water through the faucet for a full minute while inspecting every joint with a dry paper towel to catch any moisture before it becomes a problem. Then I’ll apply a continuous bead of 100% silicone caulk around the sink edge and let it cure completely—this final seal is what keeps water from sneaking underneath and damaging my cabinet.

Waterproof sealant: This clear caulk seals out air, water, and moisture with 100% silicone as cured

100% Silicone Caulk Protection: This silicone caulk clear provides ultimate waterproof protection, ensuring a reliable seal against water damage. Ideal for areas with consistent exposure, keeping your surfaces safeguarded and pristine under any weather condition.
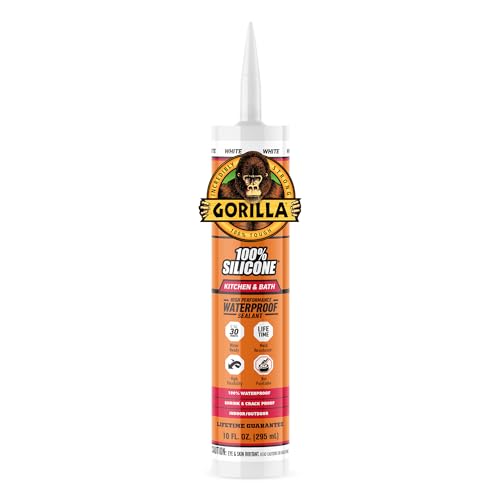
Kitchen & Bath Ready – Premium white silicone caulk formulated for kitchens and bathrooms, delivering a durable, long-lasting seal in wet, humid environments
Check Water Connections
Check Water Connections
Before you celebrate finishing your sink installation, you’ll want to verify that everything’s watertight—because discovering a leak after you’ve reassembled your bathroom cabinets is nobody’s idea of fun.
Pressurize and Inspect
Slowly open the shutoff valves under the sink, then run the faucet for one minute. This exposes any leaks in your water connections and supply lines immediately. Grab dry towels and inspect every connection point: hot and cold supply lines, the P-trap, and drain connections. Look for moisture around joints and seals.
Key Testing Steps:
- Fill the basin halfway, then release to test drainage
- Check for slow drips or standing water around fittings
- Hand-tighten all drain connections before giving a final quarter-turn with pliers
If you detect any moisture, re-seal with fresh silicone caulk and re-tighten connections. You’re protecting your bathroom from future water damage.
Apply Silicone Caulk
Creating Your Waterproof Barrier
I apply a thin, continuous bead of 100% silicone caulk around the entire sink-to-counter seal. This sealant prevents water from pooling underneath, which would eventually rot your vanity top. I also seal the joint between the sink and vanity top, plus any edge touching the wall.
Finishing Strong
Using a wet fingertip, I smooth the bead for a professional appearance. Then comes the hardest part: waiting. I let the curing time complete per manufacturer directions before using my bathroom sink.
Verify Your Work
Finally, I run water and check all sealed edges with a dry tissue for moisture, confirming my leak test passed.


